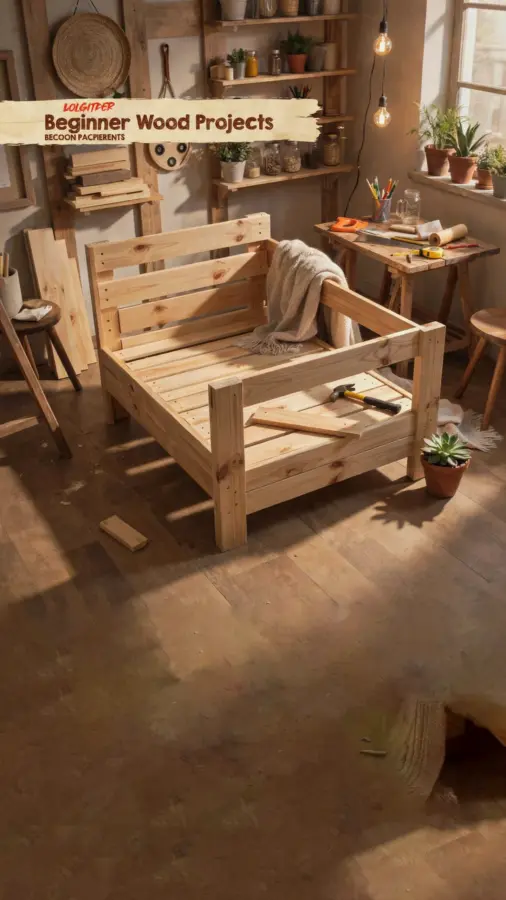
Why Choose a 3-in-1 Design for Your Outdoor Space
If you have been looking for a woodworking project that gives you more than just a place to sit, this 3-in-1 wood bench plan might be exactly what you need. It transforms from a sun lounger to a two-person seat or a four-person bench, making it a smart choice for small patios or gardens. Instead of building three separate pieces of furniture, you build one clever frame that changes shape in under a minute.
For beginner DIYers, this plan keeps things simple. No complex joinery or expensive hardware is required. The design uses basic cuts and hinges, so you can focus on learning the fundamentals of measuring, sawing, and assembling without feeling overwhelmed. Plus, the finished bench looks clean and modern, which fits most outdoor decor styles.
Tools and Materials You Will Need for This Beginner Woodworking Project
Before you start, gather a few basic tools. You likely already own some of them. If not, you can borrow or buy affordable versions from a local hardware store.
- Circular saw or handsaw (a miter saw is nice but not required)
- Drill and a set of drill bits
- Measuring tape and a carpenter’s square
- Sandpaper (80-grit and 120-grit) or an orbital sander
- Wood glue and exterior screws (2.5 inches and 1.25 inches work well)
- Door hinges (three or four heavy duty ones) for the backrest
- Wood: pressure treated pine or cedar (about 12 boards of 2×4 and 2×6, depending on your desired size)
For a first project, I recommend pressure treated pine. It is budget friendly, rot resistant, and easy to work with. Cedar costs more but looks beautiful and smells nice. Either choice will last for years if you apply a protective finish.
Step by Step: Building the Main Bench Frame
Start by cutting your 2x4s to length for the base and seat supports. The base consists of two long side rails and three cross braces. The seat itself is made from three or four 2×6 boards laid side by side. Do not worry if your cuts are not perfectly square at first. Sand the ends lightly to smooth them out.
Assemble the base by screwing the cross braces between the side rails. Use wood glue on the joints first, then drive screws through the side rails into the ends of the braces. This creates a sturdy rectangle. Next, attach the seat boards on top. Leave a small gap (about 1/4 inch) between each board so water can drain. Drill pilot holes to prevent the wood from splitting, especially near the ends.
Adding the Transformable Backrest and Armrests
The magic of this 3-in-1 wood bench plan comes from the backrest. It doubles as a lounger extension when folded flat. To build it, cut two 2×4 vertical supports and attach them to the back edge of the seat using hinges. Then screw a set of horizontal slats across those supports to form the backrest surface.
For the armrests, cut two short pieces of 2×4 and mount them on the sides of the bench with additional hinges. When the backrest is folded down, the armrests also fold flat, turning the whole thing into a long lounger. When upright, the armrests lock into place with small wooden pegs or simple sliding bolts. This mechanism is forgiving for beginners. You can adjust it later if the fit is not perfect.
Finishing Touches and Outdoor Protection Tips
Once the frame is assembled, sand everything smooth. Pay extra attention to edges and corners where people will sit or rest their arms. A rough bench is uncomfortable and can cause splinters. After sanding, wipe off the dust with a damp cloth.
Apply a weather resistant finish. I prefer a clear
#woodworking #diy #benchplans #woodworkingtips #homedecor
Leave a Comment