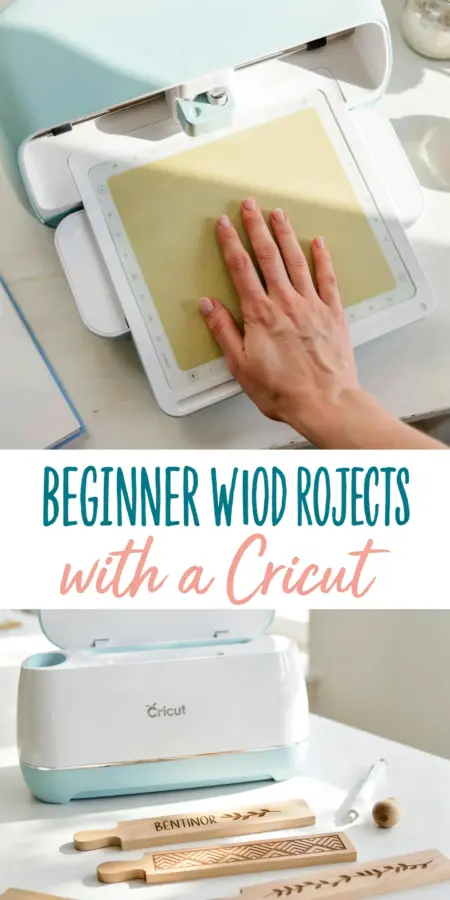
There’s a moment when you realize your Cricut can do more than vinyl. That moment usually happens when someone mentions wood burning with a Cricut. It sounds like a hack, but it’s actually a straightforward beginner woodworking project. You let the machine draw the design, and you trace over it with a wood burning tool. This guide covers the common mistakes I made, so you can skip them and get to the fun part.
What You Actually Need for Wood Burning with a Cricut
Before you start, gather the right supplies. The good news is that you probably already own most of them if you have a Cricut. The rest is cheap and easy to find at any craft store.
- A Cricut machine (Maker, Explore Air, or Joy works, but a larger mat is easier for bigger pieces)
- Fine point pens or markers that fit your Cricut, preferably in a dark color
- Basswood or birch plywood blanks, sanded smooth
- Standard grip cutting mat and transfer tape
- A wood burning tool with a universal tip
- Painter’s tape and a soft cloth
You don’t need an expensive wood burning kit. A simple wired pen with adjustable temperature is enough for your first project. The key is to match the pen tip to the line width you chose in your design software.
Mistake #1: Choosing the Wrong Wood Blank
Not all wood is created equal when it comes to wood burning with a Cricut. Hardwoods with heavy grain, like oak or ash, can make your burner skip and wobble. Soft, fine-grained woods are much easier to work with.
Basswood is the best friend of every beginner woodworker. It has a pale, even color and a smooth surface that burns cleanly. Birch plywood is another solid choice, especially if you want a thinner piece for coasters or ornaments.
Avoid pine if you can. Pine has resin pockets that burn unevenly and produce a lot of smoke. You also want to check that the wood is sanded to at least 220 grit. If it feels rough, give it a quick pass with fine sandpaper before you load it into the Cricut.
Mistake #2: Using the Wrong Pen or Sketch Setting
Here’s the most common mistake: people use a regular Cricut pen that is too thick, then they try to burn over a fat line. The result is a messy blob. You want a fine point pen, ideally 0.4 mm or smaller, because the wood burning tip follows the drawn line.
In Cricut Design Space, choose the “Sketch” or “Draw” operation instead of a cut. This tells the machine to move the pen without pressing down too hard. A light touch keeps the line crisp and prevents the pen from dragging on the wood grain.
Always do a test on a scrap piece of the same wood. Different brands of pens behave differently. Some ghost, some skip. Once you find a pen that leaves a consistent mark, use it for all your future projects.
Mistake #3: Burning Too Fast or Too Slow
Wood burning is a rhythm game, not a race. Move the tool too fast and you get thin, weak lines that are hard to see. Move too slow and the wood darkens too much, sometimes leaving a sunken groove you didn’t plan for.
Think of the burner like a marker that needs a steady hand. Let the heat do the work, and keep your arm supported so you don’t shake. If you notice the line turning black and smoking heavily, you’re going too slow. Back off and speed up.
For curved corners, lift the tip slightly and pivot the wood instead of the tool. That helps you keep an even pressure and avoids accidental burns. It’s a little awkward at first, but you’ll find your rhythm after a few practice pieces.
How to Get Clean, Even Lines on Your First Try
One trick that changed everything for me: sand the wood again after the Cricut draws on it. Wait, that sounds crazy, but hear me out. You’re not sanding the ink off, you’re just removing any tiny raised fibers. Then the burner glides much more smoothly.
Another tip is to tape your wood blank securely to the mat. Even a tiny shift can make the pen skip a section. Use painter’s tape on the edges, not just the transfer tape, especially if the wood is thicker than a few millimeters.
When you burn, work in sections. Finish one letter or shape before moving to the next. That way, if you need to pause, you won’t forget where you stopped. And always keep a damp cloth nearby to cool the tip, because an overheated burner can scorch areas you didn’t intend to touch.
Finishing Options That Make It Look Store Bought
Once the burning is done, don’t just leave the wood bare. A finish protects the surface and makes the burn pop. For a matte look, wipe on a thin coat of natural beeswax or butcher block oil. For a bit of shine, use a spray polyurethane.
If you want a darker contrast, rub the burned lines with a soft cloth and a bit of mineral oil. The oil darkens the burn while keeping the raw wood light. Wipe off the excess quickly, so the oil doesn’t soak into areas you want to keep pale.
Allow the finish to cure completely before handling. I once wrapped a gift too early and smudged the whole design. Give it at least a few hours, or overnight if you can, and your DIY wood craft will look like it came from a boutique.
Easy Beginner DIY Wood Crafts to Try
Once you’ve mastered the basics, the project ideas are endless. Coasters are a great first project because they’re small and forgiving. Cut a piece of birch plywood into 4 inch squares, burn a simple monogram, and you have a thoughtful gift.
Ornament blanks are another favorite. They already come with a hole for ribbon, so you just add a drawing and burn it. You can also make keychains, plant markers, or a small welcome sign for your front door.
For a slightly bigger challenge, try burning a quote onto a wooden cutting board. Just remember to use food-safe finish if the board will touch food. That’s a beginner woodworking project that feels impressive without requiring any special joinery or power tools.
Wood burning with a Cricut is one of those crafts that feels like a secret when you first discover it. The machine handles the messy drawing part, and you get to enjoy the slow, satisfying burn. Start with a small blank, avoid the mistakes above, and you’ll have a finished piece you’re proud to show off. Save this guide for your next craft night, and let me know in the comments what you decide to make first.
Leave a Comment