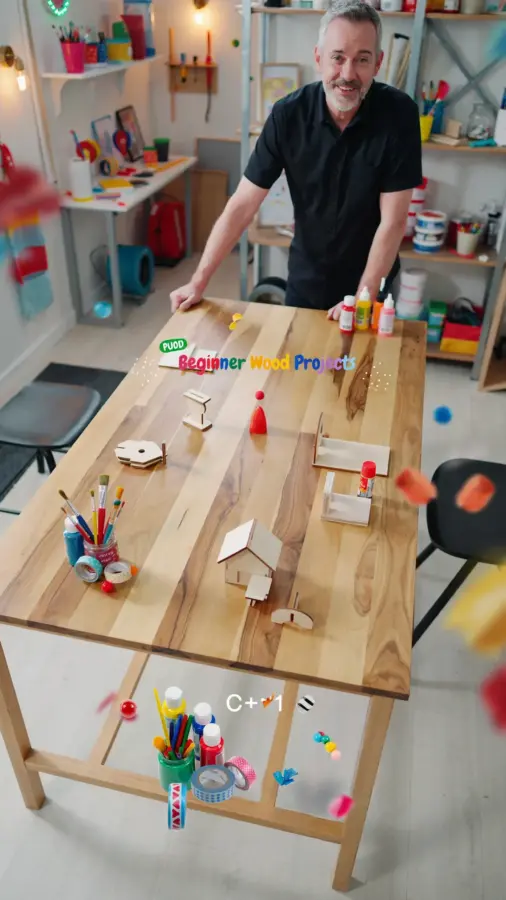
I still remember the first time I tried beginner wood projects with nothing but a hand saw and a lot of optimism. My first build was supposed to be a simple birdhouse, but it ended up looking more like a trapezoid with a hole. That messy start taught me something important: you don’t need fancy tools or years of experience to make real progress. These easy DIY plans are designed for your first build, and I have tested most of them myself. They will help you avoid the mistakes I made and actually finish something you are proud of.
Getting Started with Simple Woodworking Projects
When I tell people I started with a $20 jigsaw and pine boards from the big box store, they usually look confused. But that is exactly what worked for me. Simple woodworking projects do not require a garage full of machines. They require a plan that fits your current skill level and a willingness to make a few wrong cuts.
I recommend picking one project that takes less than two hours to complete. A small plant stand or a basic picture frame works perfectly. The goal is to finish something, not to buy every clamp in the store. Your first build will give you the confidence to try something bigger next week.
Choosing the Right Wood for Your First Build
Pine is your best friend as a beginner. It is soft, cheap, and cuts easily with basic tools. I tried using oak for my second project and spent an entire afternoon dulling blades. Learn from my mistake. Beginner woodworking plans almost always call for pine, poplar, or plywood.
Here is a quick breakdown of what I use most often:
- Construction lumber (SPF) – Great for shelves and workbenches. Inexpensive and widely available.
- Pine boards – Smooth surface, easy to sand, perfect for small furniture and decor.
- Baltic birch plywood – Stable and less likely to warp. Ideal for boxes and jigs.
- Poplar – A hardwood that is still affordable and easy to machine. Good for painted projects.
Stick with these options for your first few builds. Specialty woods like walnut or cherry can wait until you have a few projects under your belt. Your wallet will thank you.
Essential Tools You Actually Need (No Overboard Shopping)
I made the mistake of buying a full table saw before I even knew how to measure properly. Do not do that. For genuine DIY wood projects, you only need three power tools to start: a jigsaw, a drill, and an orbital sander. You can build 80% of beginner plans with just those.
You also need a square, a tape measure, some clamps, and wood glue. That is it. I built a whole set of floating shelves with nothing more than these items. A miter saw is nice but not necessary. A circular saw can replace a miter saw if you build a simple guide. Keep your tool list short and your project list long. Buy new tools only when a specific build genuinely requires them.
Easy DIY Plans That Taught Me the Basics
The first real project that clicked for me was a simple step stool. The plans called for just seven pieces of wood, three screws per joint, and a straight cut at the end. It took me forty minutes. That is the kind of easy DIY plans I look for when teaching friends.
Other beginner-friendly builds that worked well for me include:
- A basic three-shelf bookcase (no dados, just butt joints with glue and screws).
- A wall mounted key holder (cut a board, sand the edges, add hooks).
- A plant box with legs (simple miter cuts and a bottom panel).
- A picture frame with a rabbet (you cut a notch with a router or chisel, but I used a saw and file).
Each of these plans reinforces the same skills: measuring twice, cutting straight, sanding smoothly, and assembling square. Once you master those, you can tackle almost anything.
Step by Step Build: A Simple Shelf
Let me walk you through one of my favorites. This shelf is forgiving and looks great even if your cuts are a little off. You will need one 1×8 pine board (six feet long), wood screws, wood glue, a drill, a jigsaw, and sandpaper.
First, cut the board into three pieces: two side pieces at 12 inches each, and one shelf piece at 24 inches. Next, sand everything with 120 grit followed by 220 grit. Then predrill holes in the side pieces about a half inch from the bottom. Apply glue to the joints and screw the shelf piece between the two sides. Finally, attach a French cleat to the back or use simple keyhole brackets for mounting. The whole thing takes about an hour. I have built four of these and given them as gifts. They never get old.
For the finish, I usually wipe on a coat of danish oil or just use a clear furniture wax. It is fast and looks natural.
Common Beginner Mistakes (and How I Fixed Them)
I made every mistake in the book, so you do not have to. The most common issue I see in woodworking for beginners is trying to make things perfect on the first try. Real wood moves, your saw will drift, and glue will squeeze out. That is okay. I learned to embrace imperfections and hide them with clever design.
Another big mistake: skipping the sanding step
#woodworking #woodworkingprojects #diywoodprojects #beginnerwoodworking #woodworkingplans
Leave a Comment