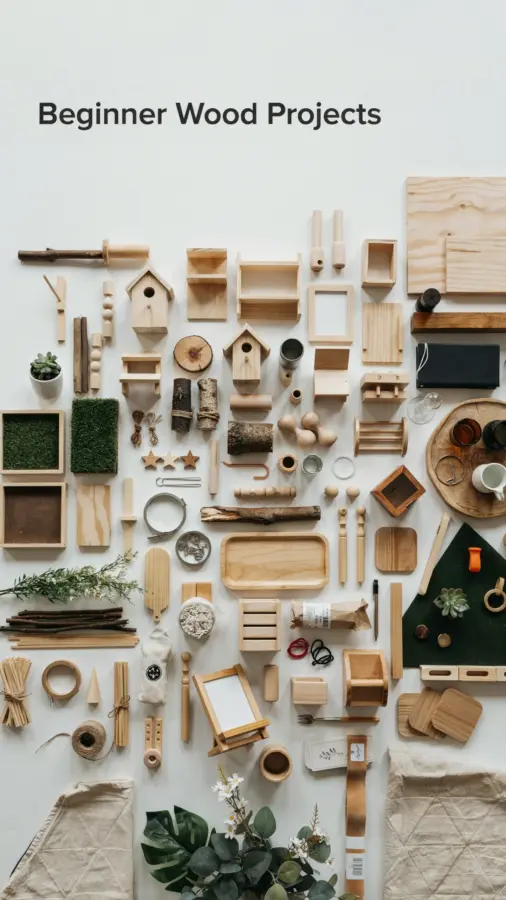
If you have been searching for DIY rustic floating shelf plans that actually work in small spaces, you have come to the right place. These beginner woodworking projects are designed to help you build something beautiful without needing a full workshop. I have rounded up four distinct shelf ideas. Each one uses basic tools and simple lumber. You can pick the style that fits your room best.
Idea 1: The Single Plank Floating Shelf for Tight Walls
This is the simplest rustic shelf you can make. You only need one solid piece of wood, two hidden brackets, and a drill. The goal is to create a shelf that looks like it floats on the wall. Choose a plank that is 1 inch thick and about 6 inches deep. Pine or poplar work well for beginners.
Cut the plank to your desired length. Sand the edges until they are smooth. Then attach the brackets to the studs in your wall. Slide the plank over the brackets and secure it from underneath. This project takes less than two hours. It is perfect for holding plants, small books, or a coffee mug.
Idea 2: The Corner Floating Shelf for Unused Nooks
Small spaces often have empty corners that beg for storage. A corner floating shelf turns that wasted area into a display spot. You will need two pieces of wood cut at 45 degree angles. Join them with wood glue and a few screws to form a triangular top.
Build a simple support frame using 2×2 lumber. Attach it to the wall at the corner. Then slide the triangular shelf over the frame. The rustic look comes from leaving the wood raw or using a dark stain. This shelf is great for keys, small pictures, or a tiny succulent garden.
Idea 3: The Live Edge Shelf for Natural Rustic Charm
Live edge wood retains the natural bark or wavy outline of the tree. It adds an organic feel that fits rustic decor perfectly. You can buy a small live edge slab online or at a local lumber mill. Most slabs are already planed flat on one side.
Cut the slab to your preferred length. Sand the top and the front edge, but leave the bark on the sides if it is secure. Use a single sturdy bracket or a pair of L brackets painted black. The contrast between the raw wood and the dark hardware makes the shelf stand out. This project teaches you how to work with natural edges without needing complex joinery.
Essential Tools for All These Projects
Before you start, gather the basic tools every beginner needs. You do not need a whole workshop. These items will get you through all four shelf ideas.
- A circular saw or handsaw for cutting wood to length.
- A drill with screw bits for attaching brackets and frames.
- Sandpaper in 80 and 120 grit for smoothing surfaces.
- A tape
#woodworking #diyshelf #beginnerwoodworking #woodprojects #diyhome
Leave a Comment