If you are new to woodworking and feel a bit intimidated by complex plans, you are not alone. The best way to build skills is to start with simple, functional pieces that use basic tools and common lumber. In this article, I have gathered a roundup of beginner woodworking projects that are perfect for a weekend build. Each idea focuses on straightforward cuts and minimal hardware so you can enjoy the process and see real results fast. You do not need a full workshop. A circular saw, a drill, and sandpaper will get you through every project here.
Start with a Simple Cutting Board
A cutting board is often the very first project I recommend to new woodworkers. It teaches you how to square up edges, sand properly, and apply a food safe finish. You only need a single piece of hardwood like maple or walnut, or you can use a pine board if you want something inexpensive.
Cut the board to your preferred size, usually around 12 by 18 inches. Make sure the edges are smooth. Then sand with 80, then 120, then 220 grit paper. Apply mineral oil or a beeswax and oil mix. That is it. You will have a useful piece for your kitchen in less than two hours.
One tip: clamp the board to your work surface before sanding. It keeps the piece steady and prevents slipping. Also, choose wood without knots for the smoothest surface.
Rustic Wall Shelves with Minimal Cuts
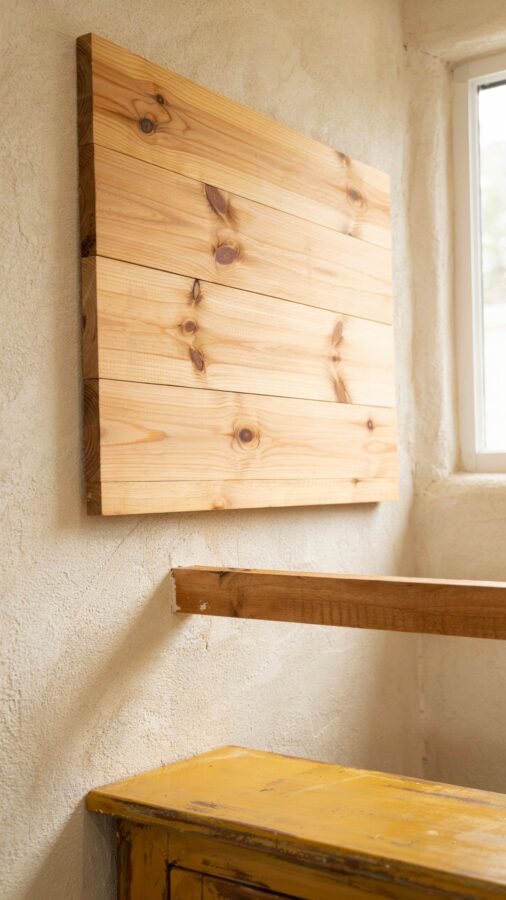
Wall shelves are another classic beginner project. They look great and require only three pieces per shelf: the top, the bottom support, and a cleat to hang it. Use a common 1×6 or 1×8 board. Cut the top to your desired length, then cut two smaller blocks for the sides or a long cleat for the back.
I prefer a simple ledge shelf. Cut the main shelf board, then cut a thinner strip for the front lip (optional). Or make a floating shelf with a hidden bracket. For a truly basic version, screw a straight piece of lumber directly into studs and place items on top.
- Tools required: circular saw or handsaw, drill, level, stud finder.
- Materials: one 1×6 board (any length), wood screws, sandpaper.
- Tip: pre drill holes to avoid splitting the wood, especially near edges.
Sand all edges lightly and apply a coat of paint or stain. This shelf can hold books, plants, or framed photos and takes about 45 minutes to assemble.
A Practical Wooden Bench for Small Spaces
A small bench is a satisfying build that teaches you about joining legs to a seat. You can make it from a single 2×4 and a piece of 1×4 for the legs. Cut the seat to around 30 inches long and cut four legs at 16 inches each. Attach the legs using pocket holes or simple butt joints with screws and wood glue.
For added stability, add a crossbrace between the legs. This project forces you to check for square and level. I like to use a square to ensure the legs are perpendicular to the seat. Once assembled, sand everything smooth. You have a useful bench for a mudroom, entryway, or even as a plant stand.
If you want a more refined look, round over the edges with sandpaper or a router. The whole build can be completed in one afternoon, and you will have a strong piece that holds up to daily use.
DIY Floating Nightstand or Side Table
A floating nightstand is essentially a small box with a face frame. It mounts to the wall, so no legs are needed. This project uses a plywood box and a solid wood front. Cut five pieces of 3/4 inch plywood for the top, bottom, sides, and back. Assemble them with glue and brad nails.
Attach the box to the wall using heavy duty French cleats or Z clips. Then attach a face frame made from 1×2 or 1×3 pine. You can add a drawer if you wish, but a simple open cubby is faster. Sand and paint or stain to match your room.
This build teaches you cabinet making basics like measuring for a box and ensuring the corners are square. It also gives you a real piece of furniture that clears floor space. Beginners often feel proud of this one because it looks like professional work.
Quick Plant Stand with Scrap Lumber
Plant stands are incredibly forgiving projects. They can be any size, and slight imperfections often add character. Use leftover 2×2 or 1×3 pieces. Cut four legs at the same height (say 24 inches) and cut four crosspieces for each level. You
#woodworkingforbeginners #diywoodprojects #easywoodworking #beginnerwoodcraft #simplewoodprojects
Leave a Comment