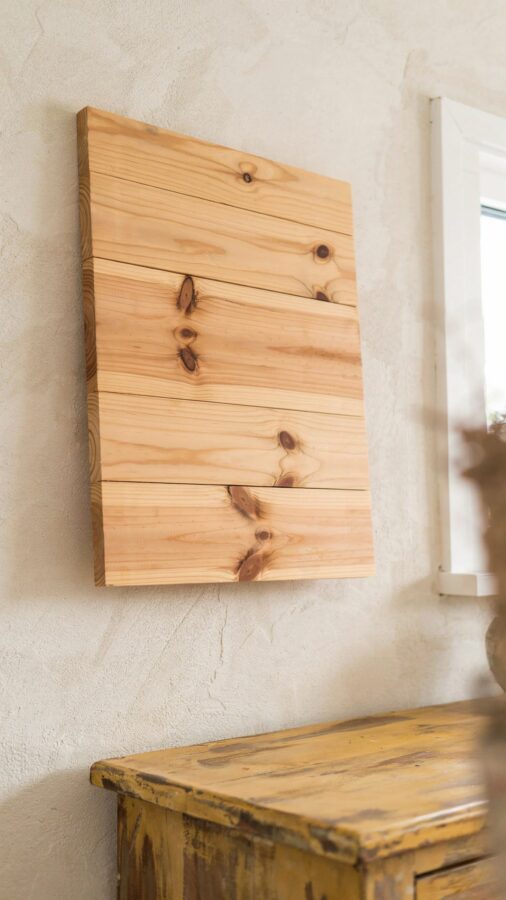
If you have been scrolling through Pinterest and wondering if those beginner woodworking projects are actually achievable with just a few tools and a trip to the hardware store, the answer is yes. I started exactly the same way: zero experience, a cheap handsaw, and a lot of optimism. The key is to pick projects that look good but don’t require a full workshop. This guide walks you through three concrete builds a rustic shelf, a simple bench, and a wall-mounted planter. No fancy joinery, no expensive machinery, just honest work with basic lumber. Save this guide and grab your tape measure because your first project is closer than you think.
Choose the Right Wood for Your First Project
Not all lumber is created equal, and using the wrong stuff can turn a fun afternoon into a frustrating mess. For beginner woodworking, stick with pine, poplar, or fir. Pine is cheap, easy to cut, and widely available at any home center. Poplar is a bit harder and takes paint beautifully, which makes it great for indoor pieces. Stay away from oak or maple until you have a better saw and a lot more patience. Hardwoods dull blades fast and demand more precision.
A good rule is to buy lumber that is already planed and square. Look for “S4S” (surfaced on four sides) boards. They cost a little more but save you the headache of jointing and planing. For the projects in this guide, you will need boards that are 1×6, 1×4, and 2×4. A 1×6 actually measures 0.75 inch thick and 5.5 inches wide. Factor that into your cuts and everything will fit as expected.
Essential Tools You Actually Need
Forget the huge tool lists you see online. You can build all three projects with just five tools: a circular saw or handsaw, a drill/driver, a speed square, a tape measure, and 120-grit sandpaper. A miter box helps for straight cuts with a handsaw, but a circular saw with a guide is faster. I recommend a drill that has both a driver bit and a separate drill bit set. Most kits come with a few common sizes. A level and a stud finder are also handy for mounting shelves and planters.
- Circular saw or handsaw: A decent circular saw (6.5-inch blade) will cut everything you need. If you go manual, get a sharp crosscut saw.
- Drill/driver: One that is cordless and has adjustable clutch. You will use it for pilot holes and for driving screws.
- Speed square: This little triangle tool marks square lines and also guides your saw for perfect 90-degree cuts.
- Sanding block: Don’t skip this. A block of wood wrapped in sandpaper gives you flat, smooth edges without arm cramps.
You do not need a table saw, a router, or a planer. Start simple. Upgrade later if you get hooked.
Build a Simple Rustic Shelf
This is the perfect first project because it uses a single 1×6 board and costs under fifteen dollars. The shelf has a face frame look but requires no dado cuts or glue ups. Cut the board to 36 inches long. Then cut two smaller pieces at 4 inches each these become the front support brackets. Sand all edges until they are smooth to the touch. Pre-drill two holes through each bracket and attach them to the back of the main shelf using 1.25-inch wood screws.
To hang it, drill two keyhole slots on the back of the shelf (use a keyhole router bit in your drill) or simply screw a French cleat between the brackets. I prefer the French cleat because it is foolproof. Attach one half of the cleat to the wall into studs, the other half to the back of the shelf, then slide it down. The shelf will hold books, plants, or candles without tipping.
#woodworkingforbeginners #diywoodprojects #woodworkingdiy #beginnerwoodworking #easywoodprojects
Leave a Comment