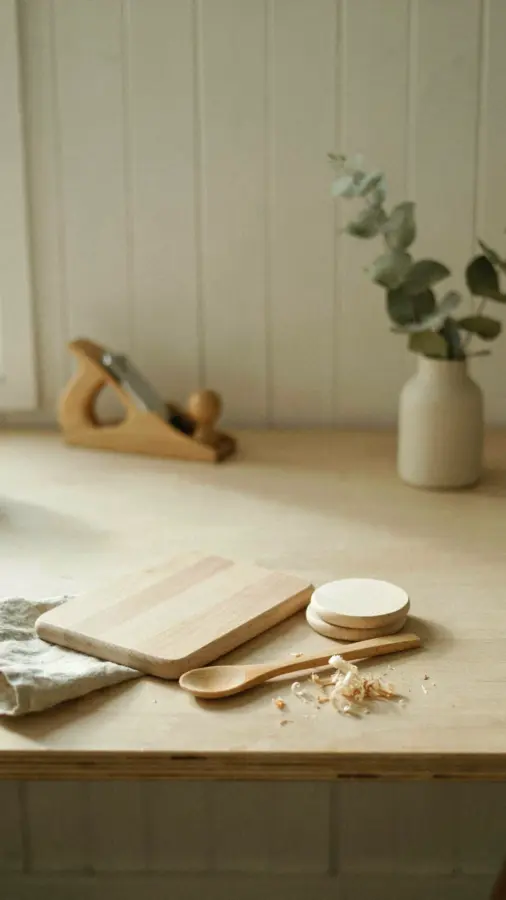
Look, I love woodworking but my wallet doesn’t always agree. That’s why I started hunting for DIY Building Projects for Budget-Conscious Beginners. You know, the kind that use cheap pine and scrap plywood. Here’s the thing: you don’t need a workshop full of expensive tools. Just a saw, some sandpaper, and a weekend afternoon. With lumber prices finally stabilizing after those crazy pandemic spikes, now is a perfect time to grab a couple of 2x4s and build something you’ll actually use. These five projects all cost under $15. Some cost less than five bucks. Ready to make sawdust?
Why simple pine and plywood are your best friends as a beginner
I get it. You walk into the home center and see all those fancy hardwoods – walnut, cherry, maple. The price tags make you wince. Not gonna lie, I’ve stood there staring at a single board of walnut that costs more than my dinner budget for the week. So just don’t go there. Pine is soft, cheap, and easy to cut. Plywood gives you a flat surface without gluing up boards. Plus, both take paint or stain beautifully if you want to dress them up later.
Ok so, real talk: pine dents if you look at it wrong. But that’s fine. Dents add character. Or you can hide them with a quick sand and a coat of primer. The beauty of cheap materials is that mistakes don’t cost you sleep. You learn, you fix it, you move on. And honestly, nobody inspects your first project with a magnifying glass.
Project 1: A simple phone stand that costs about two dollars
I built this in twenty minutes using a scrap piece of 1×4 pine. Cut a 6-inch length, then make two angled cuts from the front edge toward the back to create a cradle. Sand the edges so they’re smooth. That’s it. You now have a phone stand that holds your device upright for watching videos while you eat lunch.
Here’s the mildly odd personal detail: I originally made mine with a 45-degree cut on both sides. It looked fine but my phone kept sliding off. So I redid it with a steeper angle – around 60 degrees. Now it’s rock solid. Moral of the story: test your angles with a scrap piece before committing. This project is literally the cheapest way to feel like a woodworker. Cost? Maybe a dollar fifty if you have to buy a small board.
Project 2: A wall-mounted key holder with a tiny shelf
Saw a version of this on Pinterest and thought, “I could build that for less than five bucks.” You need a 12-inch piece of 1×6 pine, three small hooks, and two screws to attach it to the wall. Cut the board, sand it, drill pilot holes for the hooks, then screw them in. Optionally, you can add a small shelf on top by gluing and nailing a smaller piece of plywood.
This project teaches you measuring, drilling, and basic joining – all skills you’ll use later. And it’s genuinely useful. No more hunting for keys in the last five minutes before work. Just hang them up. I mounted mine right inside the front door. My wife actually said it looked “cute” instead of “functional.” That’s a win.
A quick checklist for gathering your first tool kit on a budget
- A handsaw – a cheap panel saw works fine. You don’t need a power saw for these projects.
- Sandpaper – get an assortment pack with 80, 120, and 220 grit. That’ll last you a dozen builds.
- A tape measure – honestly, just borrow one if you don’t have it. Every household has one somewhere.
- Wood glue – a small bottle of Titebond is under five bucks and goes a long way.
- Clamps – you can get by with one or two cheap spring clamps. Or just use heavy books.
- Screws and nails – grab a small box of #6 screws and a handful of 1-inch brads.
That’s it. Total cost for tools? Maybe thirty bucks if you start from zero. But most people already have a hammer and a screwdriver. So really, you’re only out ten or fifteen dollars.
Project 3: A basic wooden crate for storage or as a side table
Plywood crates are trending on social media right now. And for good reason. They’re stupid simple to build. Cut six pieces of 1/2-inch plywood: two sides, two ends, one bottom, and one optional top. Assemble with wood glue and small nails. The trick is to make the sides overlap the ends so the joints are strong.
I built one last spring to hold my gardening tools. Then I built another one as a little end table in my living room. It’s not fancy furniture, but it works. You can paint it, stain it, or leave it raw. One crate uses maybe half a sheet of plywood. If you buy a full sheet at around $40, you can build eight crates. That’s five bucks per crate. Share them with friends or sell them at a yard sale. Not a bad return on investment.
Anyway, if you want a challenge, add a few trim pieces to the edges. Makes it look more finished. But for a beginner, just focus on getting the box square. Use a carpenter’s square if you have one, or just measure the diagonals. They should be equal.
Project 4: A small spice rack that fits inside a cabinet door
This one solves a real-life problem: spice jars chaos. Build a thin L-shaped shelf from 1×2 pine. The vertical piece gets screwed to the inside of a cabinet door. The horizontal piece becomes the shelf. Cut the vertical piece to the height of your cabinet, and the horizontal piece to the width of your cabinet door. Attach them at a 90-degree angle with glue and screws.
You can add a small front lip so the jars don’t slide off. Use a piece of quarter-round trim. That adds maybe another fifty cents. Total cost under three dollars. I built one for my mom’s kitchen last Christmas. She uses it every single day. That feeling of making something that actually gets used? That’s why I keep building.
Rhetorical question: have you ever looked for a spice and ended up pulling out ten jars? Yeah, me too. This fixes that. Plus it’s a great weekend project because you can finish it in an hour, paint it while you watch a movie, and install it the next morning.
Project 5: A simple step stool from one 2×4 and a scrap of plywood
Not gonna lie, this was the first thing I ever built that made me feel like a real woodworker. Cut two 12-inch pieces of 2×4 for the legs. Cut two 10-inch pieces for the steps. Then cut a small plywood top (maybe 12×8 inches) for the actual step surface. Assemble with countersunk screws.
The trick is to angle the legs slightly outward at the bottom for stability. Cut the bottom ends at a 10-degree angle so they sit flat. Or just leave them straight if you’re lazy. I left mine straight and it wobbles a tiny bit. I keep telling myself I’ll fix it someday. But it still works. Point is: this project is forgiving. You’ll learn how to use a countersink bit and how to pre-drill to avoid splitting the pine. Useful skills. Cost: about four dollars in materials.
A hyper-specific detail: I built this stool in my basement while listening to a podcast about ancient Roman concrete. That’s not relevant, but it’s stuck in my memory. So now every time I step up to grab a can of beans from the top shelf, I think about aqueducts. Weird, but human.
Wrapping up and a soft nudge
You don’t need a huge budget or a full shop to start building. These five DIY building projects for budget-conscious beginners prove that. Grab a piece of pine, a saw, and some sandpaper. Pick one project, build it, learn from your mistakes. Then build the next one. Before you know it, you’ll have a house full of handmade stuff and a set of skills you didn’t have before.
If you found this helpful, pin it to your weekend project board. And hey, when you build that phone stand or spice rack, come back and tell me how it went. I’d love to hear about your crooked cuts and accidental triumphs.
#woodworkingforbeginners #diyprojects #budgetdiy #easytobuild #beginnerwoodworking
Leave a Comment