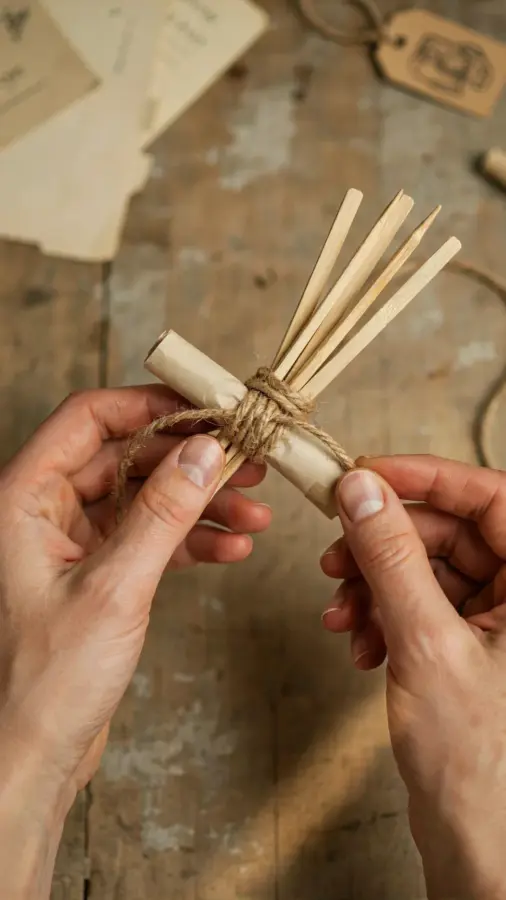
Right now, in my garage, there’s a crossbow made from an old pine shelf, two binder clips, and a handful of rubber bands. That’s not a joke. Or maybe it is, but it’s also a working crossbow, and I built it with stuff I found in three drawers. This is a diy crossbow that shoots, and honestly, it’s the best budget beginner woodworking thing I’ve done all year. It’s also a perfect Christmas project if you’re broke, tired of seeing wreaths made from wine corks, and looking for a gag gift that actually does something.
Why Bother With a Scrap Wood Crossbow?
Usually I avoid projects that can launch objects because I have a poor track record with saws and my own thumbs. But this one pulled me in because it’s all scraps. No new lumber, no fancy kit, no trip to the hardware store. You’re basically building a medieval weapon from office supplies, and that’s a weird, satisfying flex. Not a bad deal.
Think of it as a gag gift that takes a little effort. A friend of mine saw mine and called it a “sorry I stepped on your foot” present. But it works, which makes it funnier. For Christmas, this is the kind of thing you can make in an afternoon and wrap up with a little foam target. Nobody expects to open a box and find a shooter. That’s the whole point.
What You Need From the Junk Drawer
Here’s the shopping list, but the best part is you don’t really shop. You raid your junk drawer, your toolbox, and maybe the weird bottom shelf of your closet. Here’s what I used, plus a few things I wish I’d known before I started.
- A piece of scrap wood, ideally about 18 inches long and 2 inches wide. Pine works, oak works better, and warped wood is cursed. I used a shelf offcut from an old crib, that one had a lip on the side which messed up the arrow track at first.
- Two heavy-duty binder clips, the big ones with the metal wings that always pinch. These become the trigger and the latch.
- A handful of thick rubber bands, or some elastic cord. I used rubber bands from a broccoli bunch, plus one random bungee cord from a broken luggage rack. That bungee was a game changer.
- Hot glue, wood glue, or both. If you’re impatient like me, just hot glue and accept the consequences.
- A dowel or straight stick for bolts. Calling them bolts instead of arrows makes you sound more dangerous than you are, so definitely do that.
Cutting and Shaping the Stock Without a Plan
I did not use a template. This is not a project where you need precision, because precision is the enemy of a quick shelf build. I sketched a rough crossbow shape directly onto the wood with a grease pencil. The front end gets a notch for the bow. The middle stays flat. The back end needs a shallow groove for the bolt to slide in, plus a notch at the rear where the trigger assembly will catch the string.
I cut it with a jigsaw in about four minutes. If you don’t have a jigsaw, a hand saw works, but your arm will hate you by the end. Sand everything down, because slivers in the palm after firing a rubber-band crossbow is a lesson you only need once. I also cut a small curved grip near the bottom, not because it helps, but because it makes the thing look a little more legit.
The Binder Clip Trigger That Actually Works
Here’s the thing: the trigger is just two binder clips, one holding the string and one releasing it. Take one clip, cut off the metal handles with pliers, and glue the base along the rear edge. The other clip goes below it, slightly offset. The string rests in the upper clip’s jaws, and when you squeeze the lower clip’s wings, the jaws release. It’s not complicated, but it took me three tries to get the alignment right.
First try, the string slipped sideways and hit my thumb. That hurt. Second try, the clip shot off the board and landed in a plant pot. Third try, I realized the upper clip needs to face a certain direction, or the string just slides out. I drew a tiny arrow on mine so I don’t forget. That little arrow is the most useful thing on the whole build.
Attaching the Bow and Dealing With Tension
The bow is a flexible branch, maybe a 16 inch piece of hardwood, or if you’re cheap like me, a fiberglass tent pole from a broken backpack. You attach it to the front notch with zip ties or strong string. The string itself runs from one end of the bow to the other, and it has to be short enough that the bow bends when you pull it back. Too much tension and the whole thing smacks you when it fires. Too little and the bolt just falls out and taps the floor.
I spent a solid hour adjusting rubber bands and zip ties, and I have a bruise on my forearm to show for it. The bruise is greenish, maybe from hitting the edge of the frame instead of the string. I’m not going to blame the trigger, but I’m not not blaming the trigger. The good news is once you find the sweet spot, it kicks with enough force to stick a foam dart into a cardboard box from about fifteen feet away. That’s all I wanted.
Lessons You Learn From a Bruise (and a Christmas Gift)
This project is genuinely great for Christmas, because it’s cheap, small, and works as either a funny gift for a sibling or the kind of thing you keep in your own corner because nobody else appreciates your genius. I’m planning to make a few more and pair them with a pack of those little foam darts and a sticky target template. Put the whole kit in a shoebox, wrap it in old newspaper, and you’ve got a three dollar gift that doesn’t feel like a candle.
For beginniner woodworking, this is a great place to start. No advanced joinery, no expensive hardware, and if you mess up, you toss the scrap and try again. It’s also all budgetcrafts in practice, which means you can afford to make mistakes. You’ll learn how to cut notches, how to align two moving parts, and how to stop expecting to escape with all your fingers intact.
Let me tell you one more thing: the first time you actually launch a bolt across the room, you’ll laugh harder than you think you will. Then you’ll adjust something, and you’ll shoot it again. And again. Before you know it, you’re making a tiny cardboard target shaped like a Christmas tree and you’re proud of it.
Anyway, this whole build takes an afternoon and leaves you with either a new hobby or a silly present. If you want the full step-by-step with measurements, diagrams, and the exact trigger alignment that finally worked
Leave a Comment