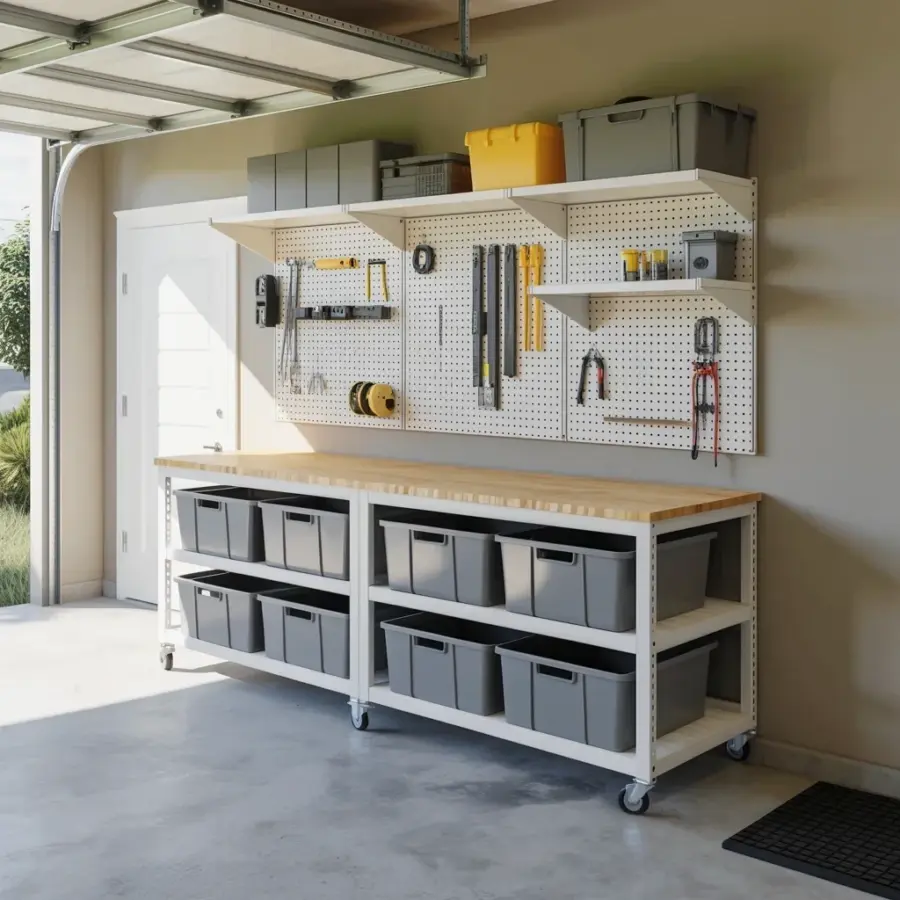
The floor of my tiny workshop is a disaster zone. Tools stacked on toolboxes, lumber leaning against the walls, and not one square foot of clear work surface. That’s exactly why I started hunting for mobile workbench ideas, and honestly, a rolling bench changes everything. It turns dead floor space into a functional station you can pull out, work on, and push back against the wall when you’re done.
Think Through Your Shop Layout Before You Cut Anything
Grab a tape measure and look at your shop like you’re parking a car. You need a clear path from the bench to the door, and enough room to walk around it when the bench is loaded with a project. I once built a cart that was two inches too wide for the doorway. Two inches. That thing now lives in the backyard, holding flower pots.
Bench height matters more than you think. Standard workbench height is around 34 to 36 inches, but don’t trust that number. Match it to your own elbow height. Stand with your arms relaxed, bend your elbows slightly, and measure from the floor to your fingertips. That’s your work surface height. Write it down.
Before you buy lumber or casters, decide a few things:
- Caster wheel size. 4 inch wheels roll better over rough concrete, 3 inch wheels are fine for smooth floors.
- Total weight capacity. Think beyond the bench itself, add the saw, clamps, and all the junk you’ll pile on it.
- Top material. Plywood is cheap, MDF is flat, solid wood feels nice but can cup over time.
- Overall depth and length so the bench fits your aisle space. Remember to account for the swing of the casters.
- A lower shelf for heavy stuff like a bench grinder or air compressor.
A Simple Rolling Cart You Can Build in an Afternoon
Start with the bottom shelf frame. Cut two 2x4s to the length of your cart and two more to the width, then screw them together into a rectangle. Lay a piece of 3/4 inch plywood on top and screw it down. That’s your base. Flip it over, attach four casters with bolts and locking washers, and you’ve got a rolling platform.
Now build the top the same way, but add a second layer of plywood if you want extra stiffness. Use 2x4s for legs at each corner, and attach a lower shelf between the legs for heavy tools. Honestly, this basic design takes maybe three hours, and it doesn’t need any fancy joinery. Pocket holes help, but straightforward screws work fine. I used a battery drill for a whole build once and my wrist still hurts from the torque, so keep a screwdriver handy for the tough spots.
If you want a super simple version, skip the legs entirely. Take two sheets of 3/4 inch plywood, stick a bunch of casters to the bottom sheet, and use 4×4 blocks as corner posts in between. You get the same rolling bench without cutting a single 2×4 to length. Not pretty, but it works.
Add a Drop-Down Work Surface for Extra Space
A rolling cart is nice, but the real magic happens when you bolt a fold-down leaf to one side. Cut a piece of plywood 12 to 18 inches deep and as long as your bench top. Attach it with continuous hinges along the long edge. Then add a single folding support leg underneath, the kind you find on a flip-down table.
When you don’t need it, flip the leaf down and hook a simple latch to hold it against the leg. That extra 18 inches of surface saves me every time I’m routing an edge or gluing up a panel. It’s the difference between balancing a board on a bucket and having a stable place to work. For a wider span, use two folding legs, one near each corner, so heavy workpieces don’t make the leaf droop.
Use Casters and Pegboard for Smart Storage and Easy Mobility
Pegboard isn’t just for walls. Screw a sheet to the back edge of your mobile workbench and you get vertical storage without stealing floor space. Hang your most-used clamps, hammers, and driver bits there. I like putting a power strip right above the pegboard so everything plugs in one spot.
Locking casters are where you can’t cut corners. A 3 inch swivel caster with a brake on each wheel keeps the bench steady while you’re sawing but still rolls easily over extension cords. Soft polyurethane wheels are quieter than hard rubber, and they don’t leave black marks on concrete. Buy good ones, because replacing two cheap casters later is a pain.
Another trick: put a shallow tray under the bottom shelf to catch screws and drill bits. Just glue a few strips of trim around a piece of plywood and slide it in. No more bending down to pick up a tiny hinge screw that rolled under the bench. (I lose at least one screw every single project. Every single one.)
Heavy-Duty Mobile Station for Your Miter Saw or Drill Press
If your main bench will hold a miter saw, then everything changes. Build the top to the saw’s height, not your elbow height, and create a recessed spot for the saw base so the workpieces slide flat across. I made mine with a scrap piece of laminate countertop, and it works like a dream for crosscuts.
Add an extension wing on one side that flips up for long boards. You can also put the whole station on 5 inch casters because the extra weight of the saw plus a sliding fence gets heavy
Leave a Comment