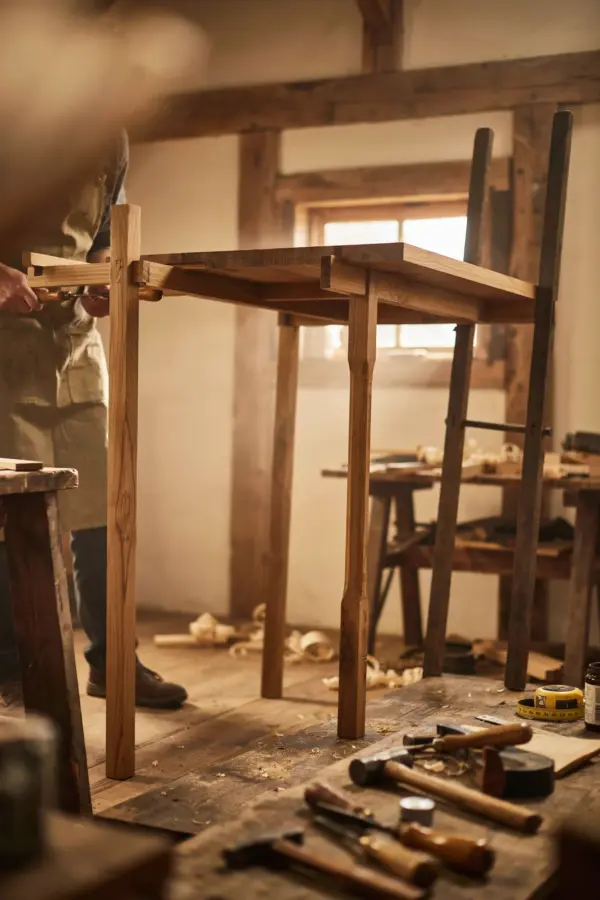
If you have been scrolling through home decor feeds lately, you have probably noticed the shift toward handmade, slow living pieces. People are stepping away from flat pack furniture and choosing to build their own. That is where **DIY shelves** come in. They are one of the easiest ways to start furniture building while adding real, functional storage to your home. And right now, with spring around the corner, it is the perfect time to tackle a weekend project that makes your space feel fresh and intentional. You do not need years of experience or a workshop full of tools. You just need a plan, some basic materials, and the willingness to try.
Choosing the Right Wood for Custom Shelves
When you are new to woodworking, the type of wood you pick matters almost as much as the design. For custom shelves, I always recommend starting with pine. It is affordable, widely available at any home center, and soft enough to cut and sand without breaking your back. Poplar is another good option if you want a wood that paints well and has fewer knots. Avoid hardwood like oak for your first project. It is harder to work with and costs more. Stick with a straight, knot free board from the lumber rack. Ask the store employee to help you pick pieces that are not warped. That small step saves you frustration later.
A seasonal note: if you are building these shelves in early spring, the humidity is lower in many regions, which means the wood will be less likely to twist after you cut it. This is a small but real advantage for beginners. You can also find end of winter sales on plywood and pine at big box stores, so check your local ads.
Simple Tools You Need for This Furniture Building Project
You do not need a full shop. Here is the short list of what I used for my first set of shelves, and what I still recommend to friends who want to try furniture building:
- Circular saw or a handsaw (a circular saw is faster and gives cleaner cuts)
- Orbital sander with 120 grit sandpaper (or just sanding block if you want to go manual)
- Drill and drill bits (a basic cordless drill works fine)
- Measuring tape and a carpenter’s square
- Level (you will use this a lot)
- Wood glue and screws (1.5 inch screws are perfect for most shelf brackets)
- Stud finder (to anchor shelves to wall studs)
That is it. No router, no table saw, no planer. You can also borrow a circular saw from a neighbor or use the store’s cutting service for straight cuts. The goal is to keep the barrier to entry low. Once you finish this project, you will have a good sense of whether you want to invest in more tools.
Step by Step Guide to Building Easy Wooden Shelves
Let me walk you through the process I used last winter when I built a set of floating style shelves for my laundry room. I have adapted it to be even simpler for beginners.
First, measure your wall space. Decide how long you want each shelf. I recommend starting with a 24 inch shelf. It is short enough to be manageable but long enough to hold a few books or plants. Next, cut your wood to length. If you have the store cut it, make sure they cut slightly long so you can sand the ends smooth at home. Then sand all surfaces with 120 grit paper, then 220 grit for a smooth finish. Wipe off the dust with a damp cloth.
Now assemble the shelf body. For a simple shelf, you can use a single board as the top and attach a thinner piece underneath as a cleat. Or you can build a box style shelf by cutting two side pieces and a front piece. I prefer the box style because it looks more substantial. Glue the pieces together and clamp them for an hour. Then drive screws through the sides into the top and bottom. Countersink the screws so they sit below the surface. Fill the holes with wood filler, let dry, and sand again.
How to Hang Your Shelves Safely (Even if You Are a Beginner)
Hanging is where most beginners get nervous, but it is actually easier than building the shelf. Use a stud finder to locate the studs in your wall. Mark them with pencil. Then hold your shelf up and level it. Mark where the brackets or screws need to go. Drill
#DIYShelves #WoodworkingForBeginners #CustomShelves #FurnitureBuilding #WoodworkingDIY
Leave a Comment