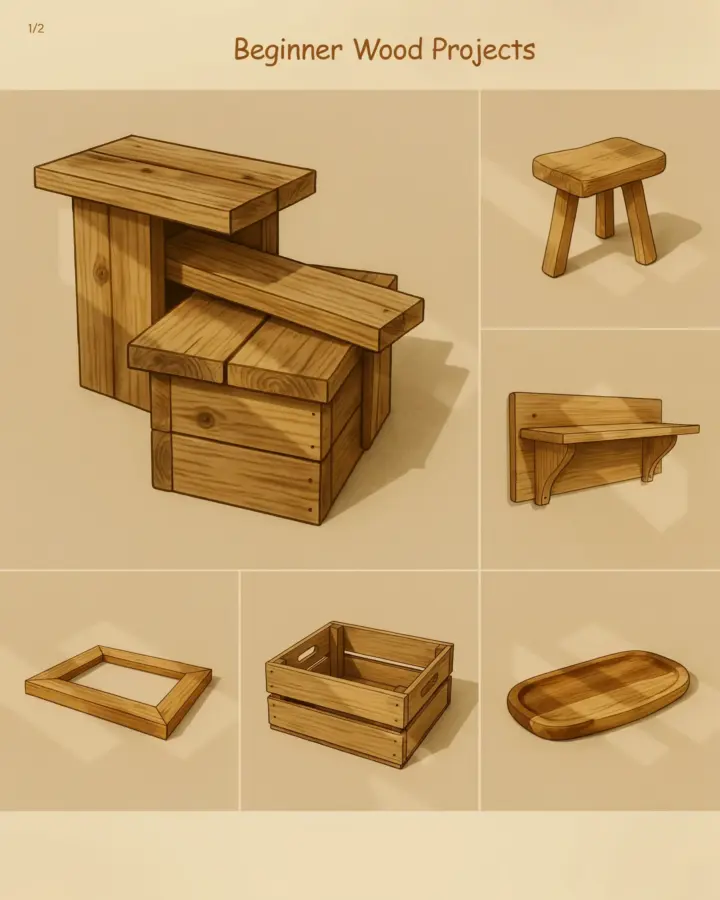
If you have been looking for a weekend project that looks good, costs very little, and actually teaches you a real skill, this DIY wooden barrel planter is exactly what you need. I built mine last spring with basic lumber, a circular saw, and about four hours of time. It now sits by my front door holding a trailing ivy and some bright marigolds, and every single person who visits asks where I bought it. The best part is that it is a true beginner woodworking project. No fancy joinery, no expensive tools, and no complicated plans. Just simple cuts, a little patience, and a planter that will last for years. In this guide I will show you exactly how to build one yourself, focusing on cheap materials and real world shortcuts that actually work.
Why a Wooden Barrel Planter is a Great Beginner Project
Most first time woodworking projects end up being either too easy (like a basic box) or too frustrating (like a dovetail joint). A barrel planter sits right in the middle. You get to practice cutting straight lines, drilling for drainage, and assembling something with a curved shape without needing a lathe or a router. It also uses standard dimensional lumber that you can buy at any home center. I used plain pine boards for mine, which cost around twelve dollars total.
Another reason this project works so well for beginners is that small mistakes are barely noticeable. If one of your staves (the vertical boards) is a little higher than the others, it just looks like rustic character. You can sand it down or leave it, nobody will care. And because the planter will be filled with dirt and plants, any gaps inside the barrel get hidden quickly. For a first build you want something that forgives little errors, and this design does exactly that.
Affordable Materials and Tools You Actually Need
Let me be honest about something: you do not need a workshop full of equipment. Here is what I used and what it cost me.
- Lumber: Two 8 foot long boards of 1×6 pine (around $6 each). You can also use cedar if you want more rot resistance, but pine is fine if you weatherproof it well.
- Circular saw or a handsaw (a miter box helps, but is not required).
- Drill with a 1/4 inch bit for drainage holes.
- Wood screws: 1 1/4 inch exterior grade screws (a small box costs about $4).
- Sandpaper or a sanding block (medium grit, 100 to 120).
- Wood glue (optional but helpful for the bottom piece).
- Outdoor sealant or paint (I used a cheap clear deck sealer, around $8).
That is it. No nail gun, no clamps (though a couple of clamps make life easier), no complex jigs. If you have a saw and a drill you are good to go.
Cutting the Lumber to Form Your Barrel
The barrel shape comes from cutting the top edges of your boards at a slight angle. For a small barrel that is about 14 inches tall and 11 inches in diameter, you will cut each 1×6 board into five or six pieces. I made mine with six staves because that gives a nice rounded look. Measure and mark each board at 14 inches long. You need six of those pieces for the sides, plus one shorter piece for the bottom.
Now here is the trick to get the barrel taper: cut a couple of degrees off the top and bottom edges so that when you stand the boards side by side, they lean inward slightly. I set my circular saw to a 5 degree bevel and cut all six boards. If your saw does not have a bevel adjustment, just cut the boards square and then sand the edges a little. It will still look like a barrel, just a bit more straight sided. The last cut is the bottom piece: a 6 inch square from your leftover lumber. Save the scraps for cleats.
Assembling the Barrel Shape Easily
Lay your six staves flat on the ground side by side with the beveled edges facing up. Apply a thin bead of wood glue along the edges and press them together one by one. If you have pipe clamps or tie down straps, use them to pull the barrel tight around a round object like a large paint can. I actually used an old bucket and some rope. It felt a little MacGyver, but it worked perfectly.
Once the glue has set for about 30 minutes, flip the assembly over and attach a cleat across the inside to hold the bottom. Cut two small scraps of wood
#woodworking #diybarrel #beginnerwoodworking #planterdiy #woodcraft
Leave a Comment