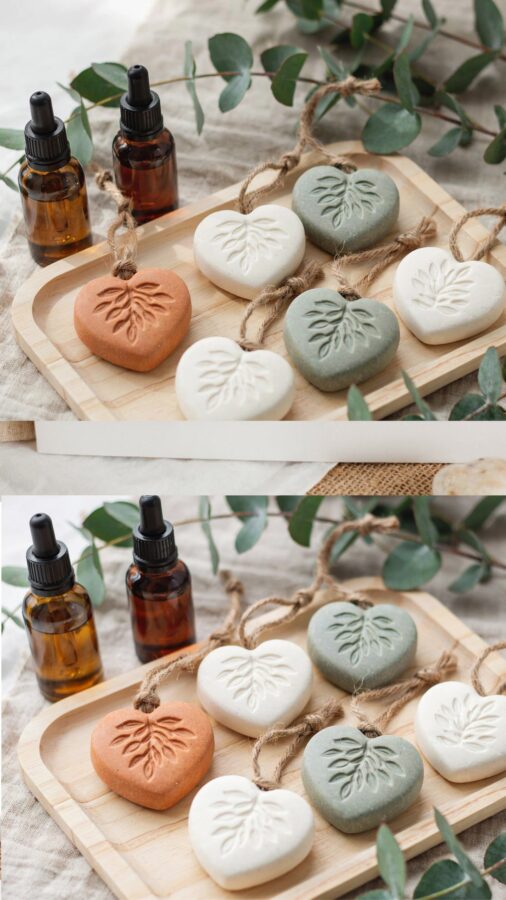
If you have ever tried making a DIY wooden diffuser stone holder only to end up with wobbly edges or a finish that ruins the scent, you are not alone. Many beginners rush through the building process and miss a few small details that make all the difference. This guide walks through the most common mistakes I see in this beginner woodworking project and shows you exactly how to sidestep them. By the end, you will have a stylish, natural aromatherapy display that actually works and looks like it belongs in a home magazine.
Picking the wrong wood for your diffuser stone holder
The first mistake people make is grabbing any scrap wood from the garage. Softwoods like pine work well for this project because they are easy to cut and sand. Hardwoods such as oak or maple can be too dense and may split if you are using basic tools. Stick with poplar, pine or cedar. Cedar actually smells nice on its own and pairs well with essential oils.
Avoid pressure treated lumber or plywood with heavy glue layers. Those chemicals can interfere with the natural smell of your aromatherapy diffuser. For a truly natural homemade look, use a single plank that is about 1 inch thick. This gives enough depth to hold the clay stones securely without tipping.
Skipping the simple measuring and cutting steps
Many beginners want to eyeball the cuts and end up with a crooked base. This project only requires a few straight cuts: a base rectangle and maybe a small lip or a raised edge. Use a square and a pencil to mark your lines. Then cut slowly with a handsaw or a jigsaw. If you use a power saw, clamp the wood down so it does not shift.
For a beginner woodworking project, keep the dimensions small. A 4 by 6 inch rectangle works well. That gives enough room for three or four diffuser stones. Mark a shallow groove in the center where the stones will sit. This prevents them from rolling off. It is a simple cut, but most people forget it until after the finish is applied.
Overlooking sanding as a critical step
Rough edges are not just a cosmetic problem. They can snag your clothes or even damage the clay stones over time. Sand the entire piece, starting with 80 grit and moving up to 220 grit. Pay extra attention to the corners and the inside of the groove. A smooth finish also lets the stain or paint absorb evenly.
One common mistake is sanding only the top surface. The sides and bottom matter too, especially if you plan to gift the diffuser holder. Take an extra five minutes to sand every face. Then wipe away the dust with a damp cloth. This makes the next step much cleaner and gives a professional look.
Choosing the wrong finish for natural aromatherapy
You might think any stain or paint is fine, but many finishes contain volatile chemicals that compete with the essential oils. For a natural homemade piece, use a food safe mineral oil, beeswax or a water based polyurethane with low VOCs. Avoid spray paints or lacquers with strong fumes. They can leave a lingering smell that masks your favorite lavender or eucalyptus oil.
If you want a colored finish, try a gel stain or a milk paint. Wipe on a thin coat, let it dry and then lightly sand with 320 grit. Repeat until you get the shade you like. Then seal with a thin layer of beeswax. This keeps the wood breathable while still protecting it from spills. Your diffuser stones will stay clean and scented for weeks.
Placing the clay diffuser stones without a plan
Another mistake is just dropping the stones onto the holder randomly. Clay diffuser stones work best when they are spread out a little so air can flow around each one. Arrange them in a diagonal line or a small cluster. Leave about half an inch between each stone. This allows the essential oils to evaporate evenly and last longer.
You can also add a few small dabs of hot glue to the bottom of each stone if you want them fixed in place for travel. But for normal home use, just a slight recess in the wood holds them steady. I like to place a few drops of oil directly onto each stone, wait a minute, then turn them over so the oil absorbs on both sides. This trick maximizes the scent throw.
Overcomplicating the design for a beginner project
A wooden diffuser stone holder does not need any fancy joinery or curves. Keep it simple: a flat base with a shallow indentation. That is all. Some beginners try to add legs, handles or inlays and end up with a piece that wobbles or cracks. Stick to a solid block design. You can always add more features once you master the basics.
If you want a little style, use a router to round over the top edges. That takes one pass with a simple bit. Or you can use a
#woodworkingdiy #beginneryoodproject #aromatherapydiffuser #diywoodencrafts #naturalhomemade
Leave a Comment