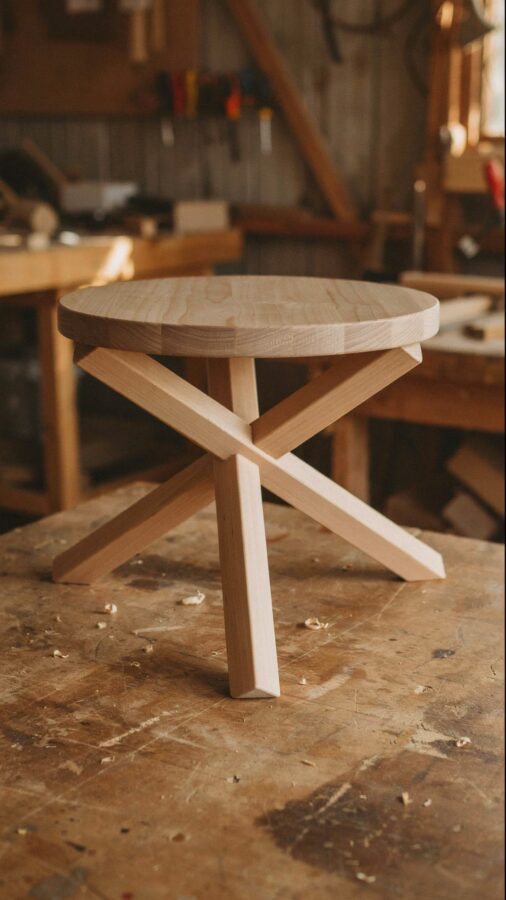
I Needed a Tiny Side Table and This Was the Simplest Fix
Last spring I found myself staring at an empty corner in my living room. A small table would fit perfectly, but every store bought option either cost too much or looked like it belonged in a waiting room. That’s when I remembered a trick an old carpenter showed me: DIY wooden table legs made from just three sticks. No complicated joinery, no fancy tools, and the whole build took an afternoon. The result was a sturdy, minimalist base that looks like it came from a mid century design catalog. If you are new to woodworking or just want a quick project that actually works, this three stick design is your best bet.
Choosing Your Wood for Simple Wooden Table Legs
You do not need expensive hardwood for these legs. I used common pine 2x2s from the hardware store, and they worked great. Pine is soft enough to cut and sand easily, but it holds up well under a small table top. If you want something more durable, oak or poplar are solid choices. Just avoid pressure treated lumber because it can warp and the chemicals are not ideal for indoor furniture.
Look for straight sticks with no cracks or large knots. A knot near the end where you attach the table can weaken the joint. Give each board a quick inspection before you buy. Three sticks about 28 inches long will give you a table that stands roughly 24 inches tall, perfect for a side table or plant stand. Adjust the length to your own needs, but keep the proportions balanced so the legs don’t look spindly.
Tools and Materials You’ll Need for This Woodworking Project
Here is the short list of what I pulled from my garage. Most of these you probably already own.
- Three 2×2 boards, 28 inches each (or your preferred length)
- A miter saw or hand saw (a circular saw works too)
- Sandpaper (80 grit, 120 grit, and 220 grit)
- Wood glue
- 1 ½ inch wood screws (I used #8 screws)
- A drill with driver bits
- A measuring tape and a square
- Clamps (optional but helpful)
- Finish of your choice (I used Danish oil)
That is it. No router, no table saw, no expensive hardware. This project is built for a beginner’s workshop. If you do not have a miter saw, a cheap handsaw and a miter box will get the job done. It just takes a little more patience.
Step by Step: Cutting and Preparing the Three Sticks
First, cut each 2×2 to your final leg length. I cut mine to 28 inches but remember to account for the thickness of the table top. If your table top is ¾ inch thick, the overall height will be about 24 ¾ inches after assembly. Cut all three sticks exactly the same length using a stop block on your saw. This keeps them even.
Next, mark the top end of each leg where it will attach to the table. I marked at 2 inches from the top on the inside face. This is where the screw will go. Then I used a square to draw a line across that face. Repeat for all three legs. Now sand each stick starting with 80 grit to remove any rough spots, then move to 120 and finish with 220. The legs will be visible, so smooth surfaces make the final finish look professional. Wipe off the dust with a damp cloth before moving on.
Assembling the Tripod Base: Joinery Tips for Beginners
The magic of this design is that the legs do not need to interlock. They simply meet at the center under the table top. Lay your table top upside down on a soft surface. Position the three
#woodworking #woodworker #woodenlegs #woodentablelegs #woodwork
Leave a Comment