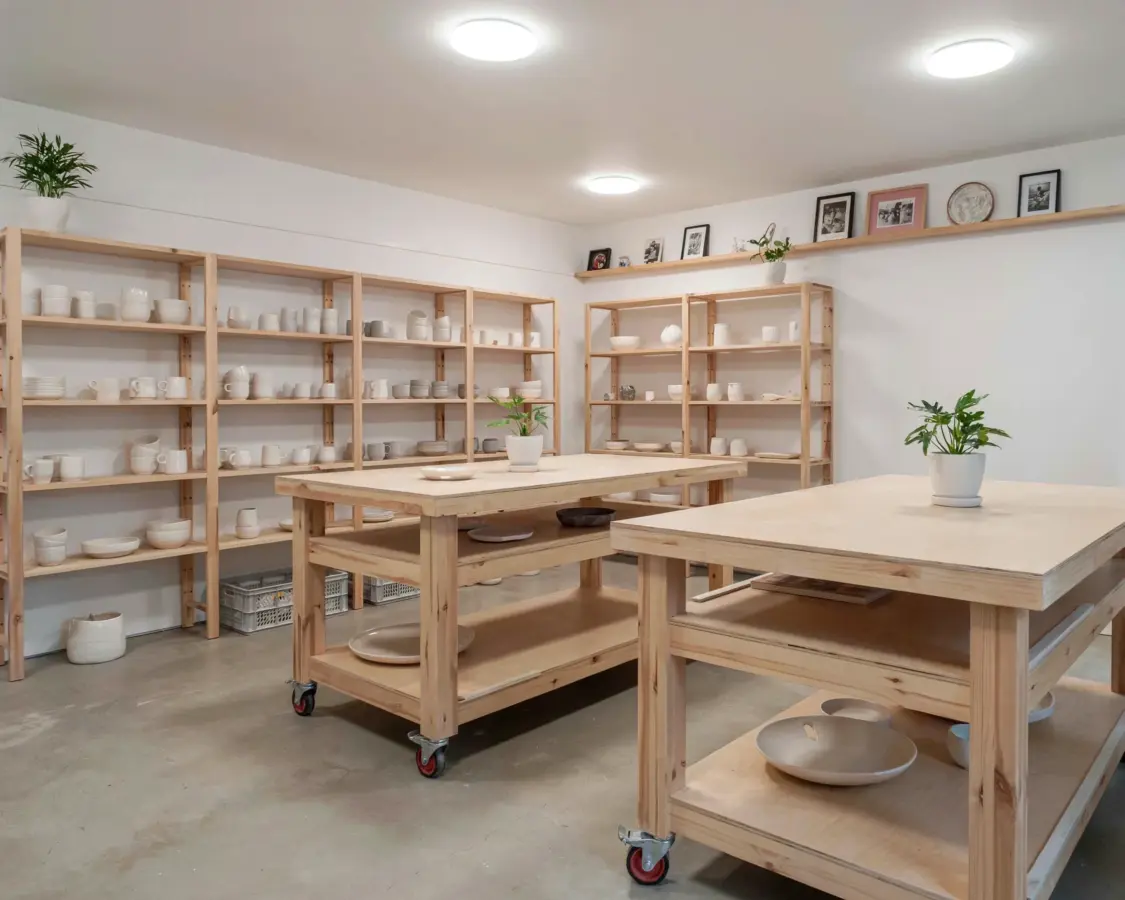
Okay, I have a confession to make before we get to the wood. The first workbench I ever built was a total disaster, a wobbling fortress of scrap lumber that took up half my garage and still managed to rack every single time I planed a board. It was functional in the way a shopping cart with a wobbly wheel is functional. I learned more from that terrible bench than from any plan I’ve ever bought, mostly about what not to do. That’s why I want to talk about the common mistakes that turn a cozy workshop dream into a frustrating corner of the garage, and how to get those DIY workbench ideas right the first time.
The ‘Bigger Is Better’ Trap is Ruining Your Workshop
There’s this primal urge to build a bench that looks like it could support a small car. Listen, I get it. But here’s the thing: a monstrosive bench eats up all your floor space, making the room feel like a closet with a lot of sawdust. You will spend more time walking around the bench than actually working on it. The result is a dead zone, not a cozy workshop. You want a bench that fits the room, not one that dominates it.
For most hobbyists, a depth of 24 to 30 inches and a length of 6 to 8 feet is plenty. That’s enough for a full sheet of plywood if you have outfeed rollers or just some clever clamping. Keep the footprint small and let your pegboard do the heavy lifting for storage. A smaller bench means you can have a lumber rack on the wall or a spot for a future future dog that won’t be a tripping hazard.
If you are short on space, consider a portable bench or one that folds down from the wall. They don’t feel quite as sturdy, but they are honest about their limitations. My current bench is 5 feet long and it holds everything I need, including my coffee mug and a small pancake compressor.
Forgetting the Pegboard Tool Wall Changes Everything
Seriously. If you skip this, you will end up with tools stacked in five different places, and half of them will be on the bench itself. We are trying to avoid clutter. A pegboard tool wall is not just for looks; it is a visual inventory of what you own. You can see instantly that your chisels are there and your router bit case is not, which is a very specific feeling of anxiety.
I like to paint the pegboard the same color as the wall beadboard to make it blend in, but that’s a stylistic choice. Functionally, you need to plan the layout before you drill. Don’t just whack hooks in randomly; group tools by task. The assembly station gets the drill and drivers, the sharpening station gets the stones and oil. It creates a sense of peace that is hard to explain.
A few essentials for your tool wall:
- Hooks for hammers and mallets (keep them away from the chisels, they get jealous).
- A dedicated spot for your most-used measuring tools.
- One shelf for sharpening stuff, so the oil doesn’t drip on your work.
That simple. It takes an afternoon and it changes your flow forever. I honestly get a little smile every time I hang my saw back on its painted outline.
Under-Lighting the Work Surface Defeats the Cozy Vibe
You can’t have a cozy workshop if you are squinting and working in your own shadow. Overhead lighting is fine for finding things, but it is terrible for precise cuts. The real fix is task lighting aimed directly at your work piece. A simple articulated lamp clamped to the side of the bench solves so many problems. You shouldn’t be building in a cave, even a clean one.
Warm lightbulbs are the secret ingredient here. Get something around 3000K to 3500K for a comfortable feel. It turns the whole corner from a utility space into a place you actually want to be. I have a cheap LED gooseneck lamp that takes a beating and it is the single most important tool on my bench. It just keeps working.
Choosing the Wrong Workbench Top Material
Mistake number four is using a smooth, finished plywood top. It looks nice in the Pinterest picture, but it’s a disaster for wood working. Your boards slide around, the glue sticks to it permanently, and it marks up immediately. What you want is a raw, solid wood top that you don’t care about. That is the “raw wood top” so many people pine over, and it’s practical.
Look, heart pine, maple, even laminated 2x4s all work far better. They develop a patina of use over time, little dents and stain rings from your coffee mug. That is the cozy part. A raw top is forgiving. When you ding it, it’s authentic. If you build with a nice hardwood surface, you are constantly worried about messing it up, and that worry kills the relaxation factor.
Dogs are essential, just so we’re clear. But the material is the main thing. A softer wood top acts as a sacrificial surface; it absorbs the wear and tear so your project doesn’t have to.
Ignoring the Need for a Coffee Mug Spot and Tunes
This sounds silly, but bear with me. A workshop is a mental space as much as a physical one. If you don’t have a flat corner designated for a coffee mug or a water glass, you will be putting it on a stack of wood that shifts or, worse, on the sander. You need that creature comfort to settle in. It’s a tiny thing that makes the space feel like yours.
I also have a cheap bluetooth speaker that lives on the windowsill. It might not be high-tech, but it helps drown out the hum of the dust collector. Having a spot for those things means you are planning for the human in the shop, not just the machines. It changes the whole energy of the room.
Final Thoughts on Building the Right Space
A workbench should invite you in. It should be a table where mistakes are okay and coffee mugs are safe. Whether you are laying out a huge garage or squeezing a corner in a laundry room, the principles are the same. Build small, light it warmly, hang your tools, and put a coaster somewhere. You are building your own little haven.
So save those pins and sketch out your build. Then go make some sawdust. I would honestly love to hear about your workbench mistakes or what your workspace looks like. Drop a comment and let me know what you are planning to build next!
#diworkbench #woodworkingdiy #workshopinspo #woodshopideas #cozyworkshop
Leave a Comment