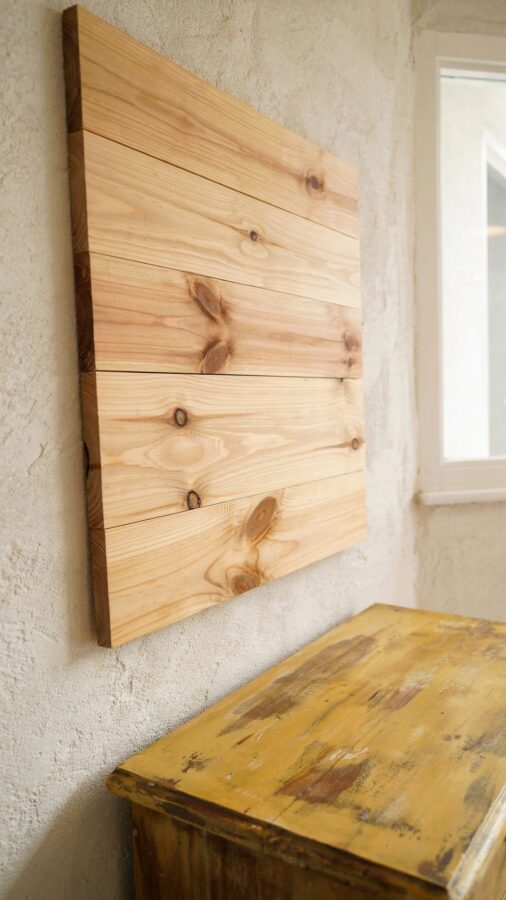
If you are looking for **Easy Woodworking Projects For Beginners**, you are probably excited to build something with your own hands. But here is the honest truth: most new woodworkers make the same few mistakes that turn a fun weekend project into a frustrating pile of scrap. I have been there myself, sawing crooked lines and gluing boards that never fit. That is why I wrote this guide as a common-mistakes-and-how-to-avoid-them resource. By learning what to watch out for, you can skip the tears and go straight to making simple shelves, rustic wall art, and other **BeginnerWoodProjects** that actually look good and last.
Mistake #1: Picking a Project That Is Too Hard (Or Too Boring)
The first trap is choosing a project that requires joinery you have never tried or tools you do not own. I once jumped into a dovetailed box and ended up with a splintered mess. On the other hand, some beginners pick something so basic, like a plain rectangle board, that they lose interest.
Stick to projects that teach one or two new skills at a time. For **EasyWoodworking**, think of a floating shelf (just a board with hidden brackets) or a simple picture frame with butt joints. These builds let you practice measuring, cutting, and sanding without overwhelming you. If you want more inspiration, look for **DIYHomeProjects** that use only a hand saw, a drill, sandpaper, and wood glue. That keeps the tool list short and your focus sharp.
Mistake #2: Ignoring the “Measure Twice, Cut Once” Rule
I cannot count how many times I have seen beginners (including myself) skip the second measurement because they were in a hurry. Then the piece comes out a quarter inch too short, and the whole project wobbles.
Build the habit of measuring twice before every cut. Mark your cut line clearly with a pencil, and double check it against the plan. If you are making a simple shelf, measure the width of the wall space, then add an extra 1/8 inch for a snug fit. For **WoodworkingDIY** projects like a rustic wall sign, even a small misalignment will show. Slow down. That extra 30 seconds saves you 30 minutes of fixing.
Mistake #3: Using Cheap or Warped Lumber from the Big Box Store
Budget matters, I get it. But picking the cheapest pine board with huge knots or a warped edge is a recipe for frustration. Beginners often grab the first 2×4 they see, only to find it cups after a week.
For **BeginnerWoodProjects**, spend a little more on kiln dried “select” pine or poplar. Look for boards that are straight when you sight down the edge. At the store, lay the board flat on the floor and check for rock. If it wobbles, put it back. Also, buy your wood a few days early and let it sit in your workspace. That helps it adjust to the humidity. A straight board makes cutting and assembly infinitely easier.
Mistake #4: Trying to Sand Too Much Too Late
New woodworkers often rush through sanding or skip it entirely. Then they apply a finish and the scratches show up like neon signs. I learned this the hard way on my first wall shelf: the front edge had coarse 80 grit marks that stained darker than the rest.
Here is a practical plan. Start sanding with 120 grit, then move to 150, and finally 220. Sand in the direction of the wood grain, and wipe away dust between grits with a damp cloth. For simple projects like a rustic wood sign, you do not need to go above 220. But do not skip the grits. Spend 10 minutes on sanding and your finish will look store bought. This is a core part of **EasyWoodworking** that many tutorials gloss over.
Mistake #5: Forgetting That Glue Actually Needs Pressure
Wood glue is strong, but only if the two pieces are clamped tightly together. I once glued a shelf bracket with just a few fingers of pressure, and it popped apart as soon as I set a book on it.
Always use clamps. For small projects, a couple of quick grip style clamps cost less than a dinner out. Spread glue evenly, press the pieces together, then clamp firmly until you see a tiny bead of glue squeeze out. Wipe off the excess with a damp rag. Let the glue dry for at least 30 minutes before you move the piece. That extra step turns a weak joint into something you
#WoodworkingDIY #BeginnerWoodProjects #DIYHomeProjects #EasyWoodworking #WoodworkingForBeginners
Leave a Comment