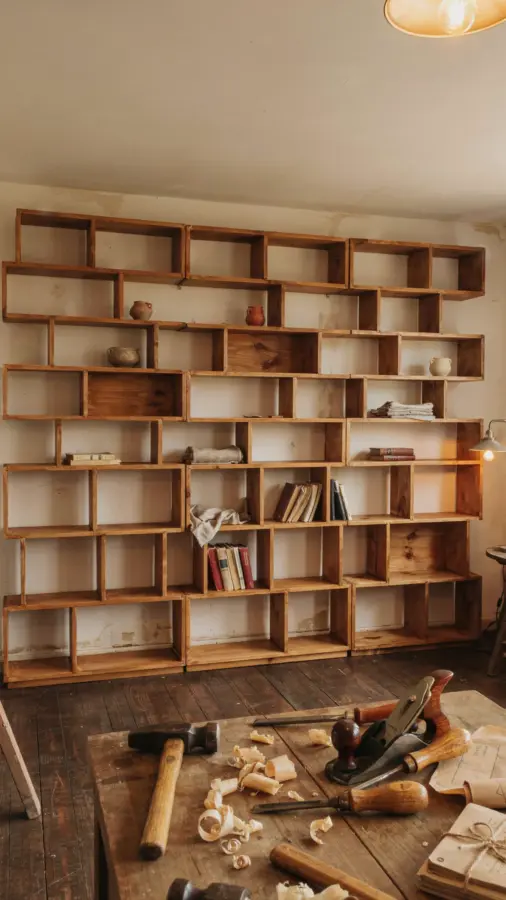
I built this modular bookshelf DIY project last spring, and it turned out better than I expected. I am not a professional woodworker, just someone who wanted storage that actually fit my space and my stuff. The adjustable shelf heights let me stack heavy textbooks on one level and display my wife’s small succulents on another. If you are looking for a weekend project that looks custom without needing a full workshop, this one works. Here is exactly how I did it, including what went right and what I would change next time.
Why I Chose a Modular Bookshelf Design
I had been staring at a blank wall in my home office for months. Most store bought shelves were either too narrow, too tall, or cost more than I wanted to spend. I wanted something that could change with my needs, not a fixed piece of furniture. That is when I decided on a modular bookshelf. Instead of one rigid frame, the shelves sit on pegs inside vertical supports. You can move them up or down in seconds. I also liked that if I ever move, the whole thing comes apart into flat boards. No hauling a massive bookcase down three flights of stairs.
Another reason the modular approach worked for me is that I am a beginner. Building one straight, square box with fixed shelves requires a lot of precision. With a modular design, each shelf is independent. If one is slightly off, it does not ruin the whole project. You just adjust the peg hole position a little. For a first woodworking project, that forgiveness matters.
Simple Tools and Lumber for This DIY Bookshelf
I used common lumber from the home center: three sheets of 3/4 inch plywood for the sides and shelves, and some 1×2 pine boards for the edging. Total cost was around $60. The tools were basic too. I already owned a circular saw, a drill, a tape measure, and a square. If you have a miter saw, great. But a circular saw with a straight edge guide works fine.
Here is the tool list I actually used:
- Circular saw (or miter saw)
- Drill with 1/4 inch and 3/4 inch bits
- Clamps (at least two)
- Orbital sander or sanding block
- Wood glue and finishing nails
- Peg hole drilling jig (optional, but helpful)
I did not buy a fancy jig. Instead I made a simple drilling template from a scrap piece of wood with holes spaced every 2 inches. That saved money and worked just as well. The most important thing is to drill straight. Take your time on that step.
Step by Step: Building the Frame and Shelves
I started by cutting the two side panels. Each one was 72 inches tall and 12 inches wide. I used a circular saw with a clamped straight edge to get clean cuts. Then I marked peg hole locations along the inside faces. I spaced the holes 2 inches apart starting 4 inches from the top and bottom. That gave me 34 possible shelf positions. I drilled each hole 1/2 inch deep using a 1/4 inch bit wrapped with tape as a depth stop.
Next I cut five shelves, each 30 inches long and 12 inches deep. I glued and nailed a 1×2 pine strip along the front edges of the shelves to give them a thicker, finished look. That also hides any plywood edge. After sanding everything to 120 grit, I applied two coats of water based polyurethane. I chose a semi gloss finish because it is durable and wipes clean easily.
One tip: make sure your shelves are exactly the same width. I measured each one against the first cut. A 1/8 inch difference can make a shelf wobble. I used a scrap piece as a spacer to keep them consistent.
How to Make Adjustable Shelf Heights Work
The key part of a adjustable shelf heights diy is the pegs. I bought a pack of 1/4 inch metal shelf pegs online. They are cheap and hold a surprising amount of weight. I tested mine with a stack of hardcover books, about 30 pounds, and the peg did not budge. Just make sure you drill the holes deep enough. If they are too shallow, the peg will stick out and the shelf will rock.
I also added two pegs per shelf at the front and two at the back. That distributes the load evenly. For the bottom shelf I used four pegs but added a fifth at the center because I store my full printer there. Do not skip the rear pegs. Without them, a shelf can tip forward when you pull a book off the front.
If you want to change the shelf layout later, just pull the pegs out and move them. I rearranged mine twice in the first month. That flexibility is the whole point of this design.
Customizing Your Bookshelf for Books, Plants, or Decor
Once the frame was assembled, I realized this bookshelf ideas list was almost endless. I put my heavy art books on the lower shelves because they look nice and are easy to reach. The middle shelves hold my wife’s small pots of pothos and
#modularbookshelf #diybookshelf #woodworkingdiy #beginnerwoodworking #bookshelfideas
Leave a Comment