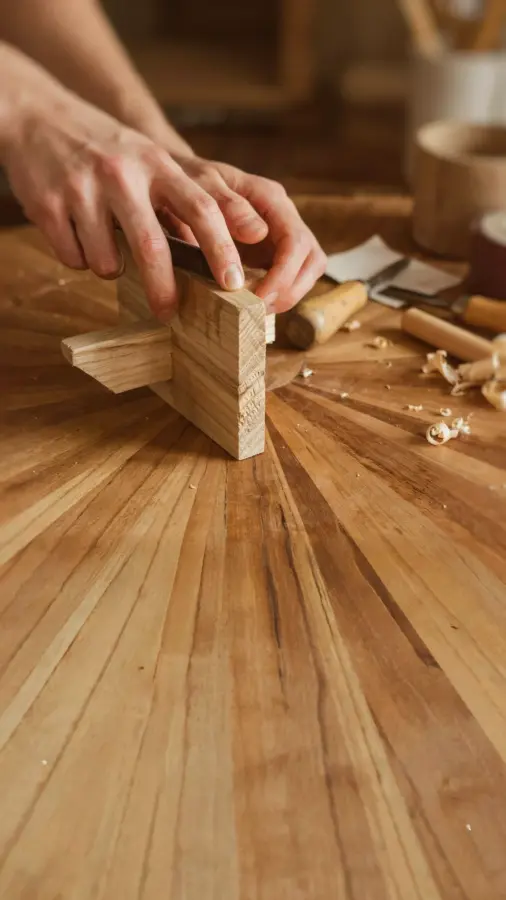
I still remember the first time I decided to try a rustic wooden sign DIY. I had a pile of scrap pine boards in my garage, no experience, and a vague idea of making something for our bare living room wall. Three hours later, I had a crooked but charming sign that my wife still refuses to take down. That afternoon taught me that a rustic wooden sign DIY is genuinely the perfect beginner woodworking project for adding charm to any home. With just a few basic tools and some scrap wood, you can create personalized wall decor that actually means something. Best of all, you learn essential woodworking skills along the way, and you end up with a thoughtful handmade gift or a piece that makes your space feel like yours.
Choosing the Right Scrap Wood for Your Rustic Sign
For my first sign, I grabbed a weathered fence board that had been sitting in my dad’s shed for years. The cracks, knots, and uneven edges gave it instant character. If you don’t have old wood lying around, a trip to the lumber yard for a cheap 1×6 or 1×8 pine board works just as well. Look for boards that are relatively straight but have a few natural imperfections. Avoid pressure-treated lumber for indoor decor, the chemicals can leach out. Wood with a rough sawn surface takes stain beautifully and hides beginner mistakes like uneven sanding.
One thing I learned the hard way: check for nails and staples before cutting. I nearly dulled my saw blade on a hidden fencing staple. Also, if you want that truly rustic look, let the wood dry for a few days in your garage. The slight warping adds to the charm and makes your sign look like it belongs in a cabin.
Essential Tools for Beginner Woodworking Projects
You do not need a workshop full of expensive equipment. For a basic rustic wooden sign, here is the exact tool list I used that first time:
- A circular saw or a handsaw (I used a cheap circular saw, but a miter box and handsaw work fine)
- Sandpaper in 80, 120, and 220 grit (or a sanding sponge for grip)
- A tape measure and a carpenter’s square
- Wood glue and clamps (or heavy books as weights)
- Paintbrushes and a small foam roller
- Stain or paint of your choice (water-based is easier to clean)
- Stencils, painter’s tape, or a freehand paint pen for lettering
That is really all you need. If you plan to make more signs later, a brad nailer or a drill with screws helps, but glue alone holds up fine for small wall pieces.
How to Create a Simple Design for Wall Decor
I am not an artist, so I kept my first design straightforward. I sketched a single word, “HOME,” in block letters on graph paper. Then I traced it onto the wood using graphite transfer paper. The key is to pick a design that fits the width of your board. For a horizontal sign, keep the letters centered and leave at least an inch of space on each side. You can also combine two or three boards side by side for a wider message.
If drawing freehand makes you nervous, use printable stencils or even cut letters from cardboard. I tried painting letters with a small brush on my second sign and ended up with wobbly lines. That rustic look was actually a happy accident, but for cleaner results, I now use painter’s tape to block out straight edges. Less stress, better outcome.
Cutting and Assembling the Wood Base
Measure twice, cut once. That old saying saved me from ruining several boards. For my sign, I cut the main board to 24 inches long. If you are joining multiple boards, cut them all to the same length. Then lay them face down on a flat surface and apply wood glue along the edges. Clamp them together and let the glue dry for at least an hour. I skipped clamps once and used a stack of cookbooks. It worked, but the seam was a little uneven. Clamps are worth the few dollars.
Once the glue is set, sand the entire front face. Start with 80 grit to remove any major rough spots, then 120 grit, and finish with 220 for a smooth surface. But do not over sand. A rustic sign should still show some grain and texture. I actually left a few saw marks on purpose because they added to the handmade feel.
Adding a Rustic Finish with Stain or Paint
Here is where the real personality shows up. I tested three different finishes on scrap pieces first. A dark walnut stain gave a warm, rich tone. Whitewash created a soft, farmhouse look. And a mix of gray stain and sanding looked like driftwood. For my first sign, I used a gel stain in “Antique Oak” and wiped it on with a rag. The gel was forgiving and did not show brush marks.
Apply the stain in long, even strokes and let it sit
Leave a Comment