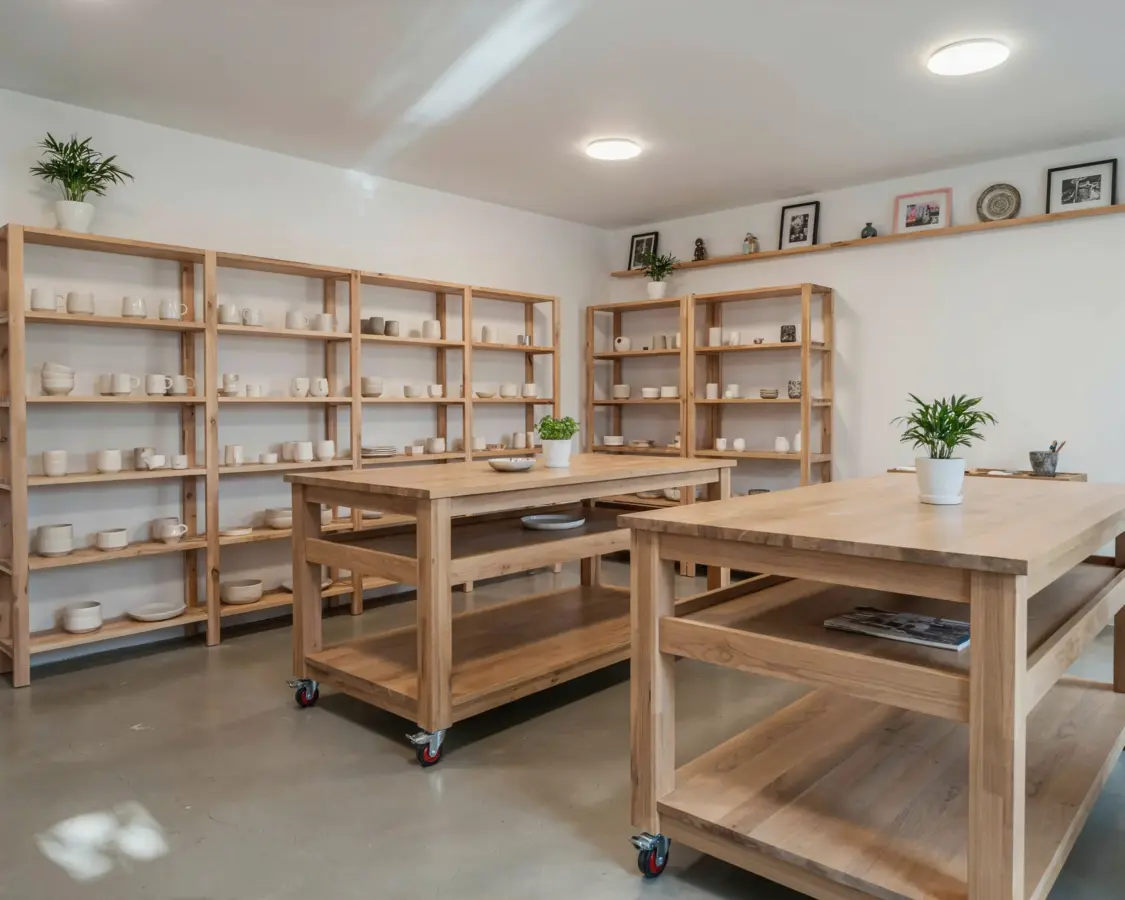
If you are working with a tiny garage or a cramped corner of your basement, finding solid Small Workshop Workbench Plans that actually fit your space and your wallet can feel impossible. I have been there, staring at giant workbench designs that need a whole room to themselves. But here is the good news: you do not need a massive bench to build great projects. You just need a smart, space saving design that works with your small shop layout. In this guide, I will walk you through a budget friendly plan that is sturdy, compact, and perfect for beginner woodworkers who want to get organized without breaking the bank.
Choosing the Right Location for Your Space Saving Workbench
Before you buy any lumber, take a good look at your available floor space. The best spot for a compact workbench is often an unused corner or a wall section that is currently collecting dust. I personally built my bench to fit into a 4 foot by 2 foot alcove, and it has been a game changer for my tiny workshop.
Think about how you move around your shop. You want enough room to walk past the bench and still have a clear path to your tools. Measure the depth of your space carefully. A standard workbench is about 24 to 30 inches deep, but you can go as shallow as 18 inches if your space is really tight. Just remember that you need enough surface area to clamp a board or lay out a small project.
Consider putting the bench on locking casters. This way you can roll it out for bigger projects and tuck it away when you need floor space for other tasks. Casters add maybe $20 to your total cost, but the flexibility is worth every penny.
Affordable Materials for Your DIY Workbench on a Budget
You do not need exotic hardwoods or expensive kits to build a solid workbench. For a budget build, stick with common materials you can find at any home center. Here is what I used for my own space saving bench and it cost me under $80 total:
- One sheet of 3/4 inch plywood (the cheap sanded pine kind works fine) for the top and shelves.
- Three 2x4s for the legs and lower bracing. Choose straight ones and avoid knots near edges.
- A handful of 2×2 or 1×4 boards for the frame supports and cleats.
- 2 inch deck screws and wood glue. Do not skimp on glue for the joints.
- Optional: a piece of tempered hardboard (Masonite) for a replaceable top surface.
If you can find salvaged lumber at a local reuse store or on Facebook Marketplace, you can cut your costs even more. I once built a bench entirely from reclaimed pallet wood and it held up for years. Just make sure the wood is dry and free of rot.
Essential Features of a Compact Workbench Design
A space saving workbench needs to be stable, even if it is small. The trick is to use a lower shelf that acts as a cross brace. This shelf also gives you storage for heavy tools like a miter saw or a bench grinder. I recommend making the shelf about 6 inches off the floor so you can still sweep underneath.
Another must have feature is a front overhang of at least 2 to 3 inches. This lets you clamp boards to the front edge without the clamp hitting your legs. For a compact bench, a 24 inch deep top with a 2 inch overhang works perfectly.
Do not forget a backstop or a small lip along the back edge. This keeps tools and screws from rolling off onto the floor. You can create this with a simple piece of 1×3 screwed to the back of the top.
Step by Step Guide to Building Your Workbench
I will keep this simple because you do not need a complicated plan. Here are the basic steps I followed for my own bench, which took about two hours total:
- Cut your 2x4s to length for the legs (usually 32 to 34 inches for a standard height).
- Build two side frames by screwing the legs to horizontal rails at the top and at the shelf height.
- Attach the lower shelf (plywood cut to size) to the bottom rails on both side frames.
- Connect the two side frames with longer 2×4 cross braces at the back.
- Screw the plywood top onto the frame. Add a layer of hardboard if you want a smooth, replaceable surface.
- Sand any rough edges and seal with a coat of polyurethane or just leave it raw.
That is it. The whole thing is basically a sturdy box on legs. If you want the bench to be mobile, install locking casters on the bottom of each leg before you attach the top.
Smart Storage Solutions for Workshop
#DIYWorkbench #SmallWorkshop #WoodworkingPlans #WorkshopOrganization #SpaceSavingBench
Leave a Comment