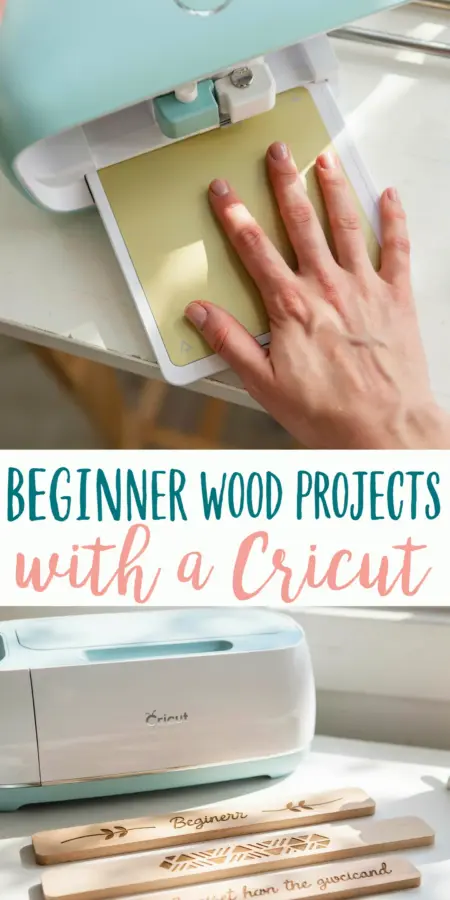
If you have a Cricut machine sitting on your desk, you might already know it can cut paper, vinyl, and even leather. But have you ever tried wood burning with Cricut? It sounds like a contradiction, because the Cricut itself doesn’t burn anything. Instead, it creates precise stencils or masks that guide your wood burning tool. That means you can get clean, repeatable designs on wood without freehand drawing. I was surprised at how easy it is, and I think you will be too. This technique is perfect for absolute beginners because it removes the hardest part of wood burning: steady hand control. Let me walk you through everything I learned so you can start your own beginner wood projects right away.
What You Need for Wood Burning with Cricut
Before you start, gather a few basic supplies. You do not need a fancy workshop or expensive specialty tools. The core items are your Cricut machine (any model that cuts vinyl or stencil material), a standard wood burning tool (often called a pyrography pen), and some transfer medium like adhesive vinyl or stencil vinyl. You will also need smooth, untreated wood. Basswood or pine from a craft store works well because they are soft and burn evenly. Sandpaper (220 grit) and painter’s tape are helpful too. Here is a quick checklist:
- Cricut machine (Explore, Maker, or Joy all work)
- Standard wood burning tool with interchangeable tips
- Adhesive vinyl or stencil vinyl (removable, not permanent)
- Smooth unfinished wood (basswood plaques, pine boards, or even thrift store frames)
- Sandpaper (fine grit) and a clean cloth
- Transfer tape or weeding tools for vinyl
- Protective gloves (optional but nice if you are clumsy like me)
I recommend starting with a simple wood burning tip, like a spear or universal point. That one tip can handle straight lines, curves, and shading on small projects.
How to Use Your Cricut to Transfer Designs onto Wood
The magic happens when you use your Cricut to cut a stencil from adhesive vinyl. You design your image in Cricut Design Space, then cut it in mirror mode (if using regular vinyl) and weed out the parts you want to burn. Once the stencil is applied to your wood, you trace along the open areas with your wood burning tool. The vinyl acts as a barrier, so you can only burn where the stencil is missing. This gives you crisp, professional edges even if you have never picked up a wood burner before. To apply the vinyl stencil properly, sand your wood first, wipe off dust, and press the vinyl firmly with a scraper. Let it sit for a minute before you start burning.
One important detail: do not use the Cricut to cut heat-resistant materials like transfer tape. Stick with standard adhesive vinyl. The heat from the wood burner will soften the vinyl slightly, but it stays in place long enough for you to trace the design. If the edges start to curl, simply press them down with your tool handle or a small piece of tape.
Safe Wood Burning Techniques for Beginners
Safety is straightforward once you understand the tool. The tip of a wood burner gets extremely hot, around 800 to 1000 degrees Fahrenheit. Always rest the tool in a dedicated stand when not in use. I have seen people set theirs down on paper or cardboard, and that is a fire risk. Work on a heatproof mat or a ceramic tile. Keep a small bowl of water nearby in case a wood splinter catches, though that is rare if you avoid oily woods like cedar. Begin by practicing on a scrap piece of wood. Draw a few lines and circles to feel the drag. Move the tip slowly and steadily. If you press too hard, the tip will dig into the grain and create rough lines. Let the heat do the work.
Another practical tip: work in a well ventilated room. Burning wood produces smoke and odors, especially if the wood has any finish or glue. An open window or a small fan helps. Also, change your vinyl stencil after each use. Once you burn through it, the adhesive weakens and the edges may lift. That is fine because you only need the stencil for one session anyway.
Beginner Wood Projects That Look Professional
Now for the fun part. What can you actually make with this technique? I started with small wooden keychains and coasters. Coasters are forgiving because the design is only a few inches across, and the wood surface is flat. Cut a simple monogram or a leaf shape in vinyl, apply it, and burn the outline. Then sand lightly and seal with a clear wax or mineral oil. Another easy project is a wooden spoon handle. You can burn a pattern or a name into the handle without worrying about the spoon part. These make fantastic DIY gift ideas for friends and family.
If you want something bigger, try a wooden cutting board or a serving tray. For cutting boards, avoid burning deep lines where food juices could collect. Keep your strokes light and use a low heat setting if your tool allows it. A simple border with small stars or dots looks elegant and is not intimidating.
#WoodBurningWithCricut #CricutWoodBurning #BeginnerWoodProjects #DIYWoodCrafts #CricutCrafts
Leave a Comment