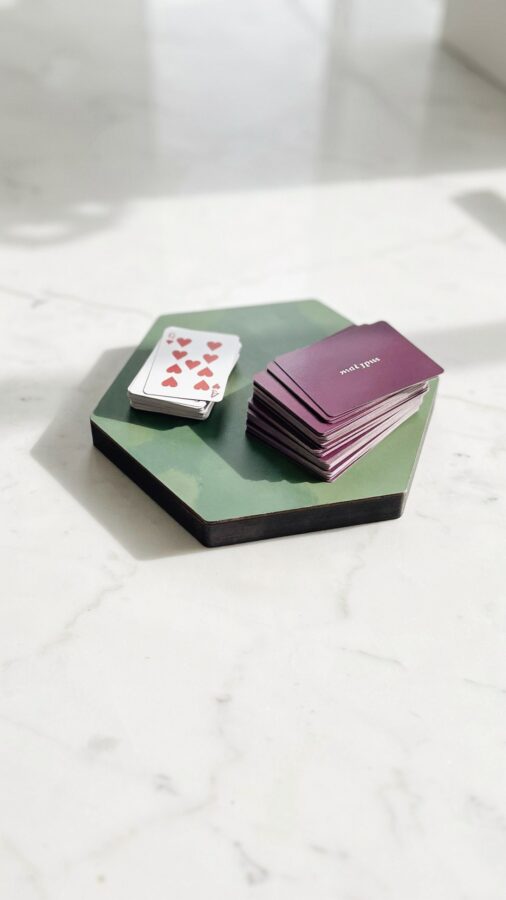
Building your own wooden card holder DIY is a fun weekend project, but I have made plenty of mistakes along the way. My first attempt had rails that stuck so badly we couldn’t shuffle. The second one was so loose that cards fell through like confetti. After a lot of trial and error, I figured out the tricks that actually work. This guide walks through the common pitfalls so you can skip the frustration and build a card holder with smooth sliding rails that feels satisfying every time.
Choosing the Wrong Wood for Your Wooden Card Holder DIY
I love using cheap pine for practice builds, but it is terrible for a card holder. Pine is soft and prone to dents, which means your rails can develop rough spots after just a few games. The rails need to stay smooth for the cards to slide without snagging.
For a wooden card holder DIY project, hardwoods like poplar, maple, or even oak work much better. Poplar is my go-to because it is affordable, cuts cleanly, and holds up well under regular use. Avoid plywood with a rough face, the layers can splinter and ruin the sliding action. Stick with solid wood and you will thank yourself later.
Getting the Rail Width Wrong (A Common Card Game Accessory Mistake)
This is the most frustrating error I see people make. They assume one standard width fits all card games. The problem is that card sizes vary a lot. Standard poker cards are 2.5 x 3.5 inches, but games like 5 Crowns use slightly different sizes. Sky-Jo cards are also a little wider than regular bridge cards.
If you cut your rails too narrow, the cards jam. If you cut them too wide, they wobble and slide sideways. Measure the actual deck you plan to use and add about 1/16 inch of clearance on each side. That tiny gap gives you the buttery smooth slides without the cards feeling loose. Write down the measurements before you cut anything.
Using the Wrong Glue or Hardware for Smooth Slides
I once used regular wood glue for the rails and clamped them tight. The glue squeezed out and dried into hard little bumps inside the channel. That completely ruined the sliding motion. Even after sanding, it never felt right.
For a card game accessory where sliding is everything, use a thin cyanoacrylate (CA) glue or epoxy applied sparingly with a toothpick. You want zero squeeze-out. Alternatively, you can attach the rails with small brass screws, countersinking them slightly. The screws let you adjust the rail position later if needed. Just avoid regular wood glue near the track area, or use painter’s tape to protect the channel while clamping.
Skipping the Test Fit (Don’t Be Like Me)
I get it, you are excited to see the finished piece. But gluing everything together before testing the sliding action is a recipe for heartbreak. I once glued the base and both rails in one go, only to realize the cards could barely move.
Here is the simple process I follow now:
- Cut your base and rail pieces oversized by about half an inch each.
- Clamp the rails in place without glue and try sliding a deck of cards through.
- If the cards catch, sand the inside of the rails or adjust the gap.
- Only glue when the test fit feels smooth and effortless.
This ten-minute test saves hours of rework. Trust me, your future self will be grateful.
Cutting Rails Without a Jig (Precision Cuts for DIYCrafts)
Freehand cutting rails on a table saw or with a jigsaw almost always leads to wavy edges. Even a tiny wobble creates friction points that stop your cards mid-slide. For precision cuts in your DIYCrafts, a simple jig makes all the difference.
I built a T-shaped sled for my table saw that holds the rail piece perfectly square. You can also use a router with a straight bit and a guide fence. If you are using a handsaw, clamp a straightedge to your workpiece and cut slowly. The rails need to be parallel along their entire length. Measure at both ends and the middle to confirm. Uneven rails are the number one cause of jerky movement.
Forgetting About Card Size Variations (5 Crowns vs Sky-Jo)
#WoodenCardHolder #DIYCrafts #WoodworkingProject #CardGameAccessory #SmoothSlides
Leave a Comment