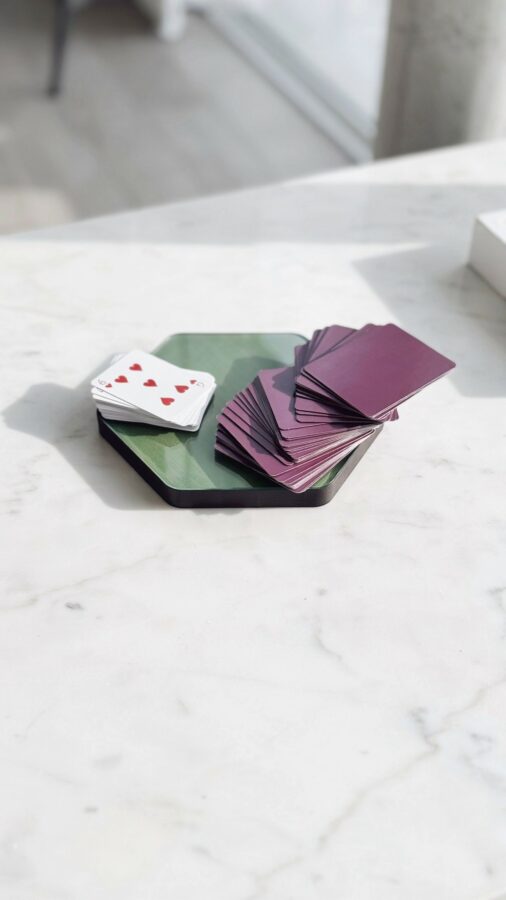
Building your own woodworking DIY card holder with smooth glide rails is a rewarding weekend project, especially when you want a vibrant multi-color design that makes game night more organized. But after helping several friends through their builds, I’ve noticed a few common mistakes that can turn a fun project into a frustrating one. In this guide, I’ll walk you through the pitfalls I’ve seen and how to avoid them, so your card holder slides smoothly and looks great.
1. Choosing the Wrong Wood for Smooth Glide Rails
The wood you pick directly affects how well your rails glide. Many beginners grab softwood like pine because it’s cheap and easy to work. But pine dents easily, and its grain can grab card edges, making movement jerky. I’ve seen people sand and sand, only to have the rails catch after a few rounds of play.
Instead, choose a stable hardwood like poplar, maple, or birch. Poplar is less expensive than maple but still machines cleanly and holds a tight tolerance. Avoid woods with large open pores, like oak, unless you fill them thoroughly. A close-grained wood gives you that buttery smooth slide you want.
2. Cutting Rails Too Tight or Too Loose
The gap between the rails and the card slot is the most common trouble spot. Cut the slot too narrow, and cards jam. Cut it too wide, and cards wobble or slip out. I recommend cutting a test piece first using scrap of the same wood thickness.
- Use a router with a straight bit for consistent slot width. A 1/4 inch bit works well for standard playing cards.
- Cut the slot 1/32 inch wider than your thickest card. Most cards are around 0.012 to 0.015 inches thick, so 1/8 inch slot is plenty.
- Test with actual game cards, not calipers. Some cards are slightly thicker due to coating. Slide a few cards in and out before final assembly.
If you see any drag, sand the inside of the slot gently with 220 grit wrapped around a thin stick. That little bit of smoothing makes a big difference.
3. Overlooking the Importance of a Flat Base
A warped base throws off the entire glide mechanism. I once built a holder where the base cupped overnight after glue-up, and the rails pinched cards on one end. Fixing that after the finish is applied is nearly impossible. You have to start over.
Always use straight, dry lumber. Joint one edge of the base board flat, or pass it through a thickness planer. If you don’t have those tools, buy pre-milled S4S (surfaced four sides) lumber from a hardwood supplier. After gluing the rails onto the base, clamp them to a flat reference surface until the glue cures. Your workbench top works fine if it’s true.
4. Applying Color Before Sanding Properly
Vibrant multi-color designs demand a smooth foundation. If you skip grits or sand too coarsely, the paint or dye will highlight every scratch. I see people rush to the color stage and then wonder why the finish looks muddy or uneven.
Start with 120 grit, then 180, then 220. For areas near the rails, hand sand lengthwise to keep edges crisp. Wipe the dust off with a tack cloth. If you’re using acrylic paint or wood dye, apply a thin sealer coat (like dewaxed shellac) first. This prevents the color from soaking into end grain differently. Then build your colors in thin, even layers. Let each layer dry fully before the next.
5. Forgetting About Card Width and Depth
Different games use different card sizes. Standard poker cards are 2.5 by 3.5 inches, but games like 5 Crowns use narrower cards. Sky-Jo cards are slightly taller.
#woodworkingDIY #cardholder #DIYgameaccessory #smoothgliderails #vibrantcolors
Leave a Comment