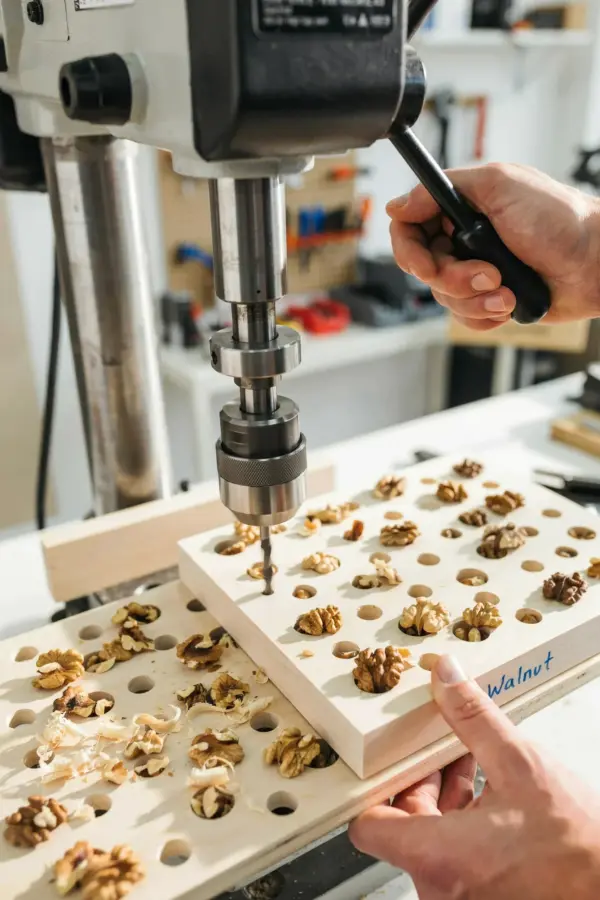
There’s a bad feeling you get when you’re halfway through a row of holes on a nice piece of oak and you realize the last three are starting to look like tiny, mangled craters. You check the bit, thinking it’s dull. It’s sharp. So you check the table. It’s square. Eventually, you’re left staring at the machine itself, and the problem becomes obvious: everything is wobbling. For woodworking tips for DIYers to actually work, they have to point at the machine doing the job, not just the material in your hands. If your benchtop drill press is fighting you at the spindle, you can chase the problem for hours and never fix it. Fix the runout instead.
Runout, in the simplest terms, is the tiny bit of wobble that happens when the chuck spins off-center. Sometimes the chuck is crooked on the spindle. Sometimes the spindle itself is bent, which usually happens when you drop a drill chuck on a concrete floor. Other times, the chuck’s jaws are loose or packed with fine sawdust that prevents them from closing evenly. Honestly, every drill press has some runout. You just need to know if it is the “acceptable, invisible” kind or the “wrecking your work” kind.
You might not even notice the issue until you use a brad-point bit to make a clean hole and see the edge score a ring around the entry point. Or you step up to a Forstner bit and suddenly the tool sounds like a lawnmower chewing gravel. That’s when you get off the job and get into the diagnosis. You have to test the machine before you can trust it with your good material.
Gather the Right Tools to Measure Runout
You don’t need fancy digital sensors to get a useful reading. Not gonna lie, a dial indicator is the gold standard here, but a simple and cheap dial indicator will do the trick. You can get a budget one with a magnetic base for around 30 bucks, and it will pay for itself the first time you fix a bad cut. If you have a machinist’s dial indicator already, great. If not, this is the one tool that turns a woodworking shop into a serious workshop.
Here’s the thing: don’t bother with those plastic alignment tools that look like rulers. They don’t measure actual runout. They measure gross deflection, which is a different beast.
To measure the runout, you will need:
– A dial indicator with a magnetic base or a clamp mount
– A clean, flat surface to clamp the base to (the drill press table itself works)
– A straight shank rod (a smooth metal rod, not a twist drill bit, is best)
– A permanent marker to mark the high spot
The indicator reads in thousandths of an inch. That is the measurement you need, not millimeters. Most benchtop presses will show between 0.001 and 0.005 inches of runout. Anything under 0.003 is decent for woodworking. Over 0.005, and you will see the effect in your cuts.
Test the Chuck and the Spindle
Testing the chuck is the first step, but you actually need to test the spindle separately to know where the problem lives. Chuck the smooth metal rod into your drill chuck, leaving about 2 inches sticking out. Lower the quill so the rod sits near the table, then place your indicator so the tip touches the rod on one side. Zero the dial and slowly rotate the chuck by hand. Watch the needle. If it swings wildly, you have a chuck problem or a bent spindle.
After testing the chuck, remove the rod from the chuck entirely. Put the indicator tip directly on the tapered nose of the spindle, where the chuck slides on. Rotate the spindle by hand again. If it reads clean here, but dirty on the rod, then your chuck is the problem. If it reads dirty on the spindle itself, you have a bent arbor. Look, a bent spindle is usually a permanent problem. You might get away with replacing the chuck, but a bent spindle will haunt you for years. You could try to press it straight, but that is a machinist’s task, not a DIYer’s.
Watch the Chuck Jaws for Hidden Damage
Not every runout issue is mechanical at the core. Sometimes it’s just grime and wear. Take the chuck off the spindle and clean the jaws with a stiff brush and some compressed air. Put a few drops of light oil, like 3-in-One, around the gear threads inside the chuck. Now chuck up a bit and spin it. You would be shocked how much slop is just dry metallic grit causing issues.
One time I bought a used bench drill press from a garage sale, and the runout was over 0.010 inches. The seller swore it worked. I cleaned the chuck and tightened the jaws several times without a bit in them to seat the mechanism properly. That dropped the runout to 0.004 almost immediately, which is still not great. So I cleaned it again. Turns out the previous owner had left the jaws clamped hard on a broken drill bit for months, and the tiny teeth inside the jaws were slightly off. I replaced the chuck instead of fighting it. A new chuck costs about 40 dollars. It’s not worth ruining panels and jigs to save a few bucks.
Position the Workpiece on the Benchtop for Stable Support
Runout gets worse when the workpiece can flex. It’s simple physics. If the material is hanging over the edge, or unsupported on a flimsy extension table, that little wobble transfers into the wood and creates a tear-out. Keep the wood right on the table. Use a fence to keep it from creeping sideways. You do not need a fancy clamp system for basic joints, but you do need a solid base.
A piece of 3/4-inch plywood, cut to 12 by 18 inches and clamped to the press table, makes a decent zero-play surface for small projects. It doesn’t fix runout, but it does fix the dynamic situation where the wood is dancing while the bit spins. Always push the wood down toward the table, not down into the bit. The drill press has a spring return on the quill; let it do the lifting. Let the quill come up before you move the wood. Otherwise, you can shift the material and bend the bit, which adds side pressure to the chuck and makes new runout appear. So yeah, your technique can absolutely cause the problem, even on a perfectly aligned machine.
Check the Adjustable Table for Loose Tolerances
The table itself might be the culprit in a way that feels like runout. If the table tilts or slides under pressure, the bit looks like it wobbles, but the work is the thing moving. Check the clamping mechanism for the tilt. Tighten it fully. Now check the vertical adjustment castings. They should not have excessive play. You measure this by grabbing the table and pressing forward and backward to see if the entire assembly shifts relative to the column.
If there is play between the table and the column, you get an effect that is nearly identical to runout on the cut. The fix is often as simple as tightening a hex bolt hidden under the rack and pinion housing. Or cleaning the column and applying a layer of paste wax. Soft aluminum columns wear down, and after about 5 years of aggressive use, they get a springiness to them. A lot of DIYers start hunting for a new chuck when they really just need a machine with a beefier column.
Upgrade the Chuck to a Precision Keyless Model
If the measurements show that the chuck itself is bad, you can upgrade. A standard keyed chuck that ships with most benchtop presses are not exactly top-tier. The biggest upgrade you can make is to replace it with a keyless chuck that has a tightening ring. These hold the bit tighter and more consistently. Honestly, keyless chucks are easier to use too. Keyed chucks often let you clamp one jaw tighter than the others if you are not careful. Since I switched to a keyless chuck, the runout on my 10-inch bench drill press stays between 0.001 and 0.002 inches consistently.
Now, this is not the cheap fix. But if your runout issue is persistent and you cannot fix it with cleaning, this solves the problem permanently. When you are shopping for a replacement, do not just buy the first one you see on Amazon. Check the taper size. Most benchtop drill presses use a Jacobs taper JT33 or an R8 taper in the spindle. Take the chuck off and measure the opening at the top with a caliper, or look up the exact model number online. Buying the wrong taper means you will have an adapter sleeve or a new chuck that will not even tap into place.
Keep the Quill in the Down Position
A weird little quirk of benchtop drill presses is that the runout can actually increase as the quill extends. The spindle is supported by two bearings separated by a certain distance. As you push the quill down, the spindle is pushed away from the table, and you get more leverage on the bottom bearing. So, if you are drilling deep holes, set the stop collar at a shallow depth and feed the work upward instead.
Move the table up. Do not lower the quill further. The bit needs to come down a small amount to cut, but you want as much of the spindle inside the quill housing as possible during the work. This reduces the flex and makes the cut slightly more accurate. Try it next time you drill a 1-inch hole with a paddle bit. The difference between the top of the hole and the bottom of the hole can be pretty obvious in a thick board. Pull the table up until the top of the work is basically a hair below the quill housing. Then the stroke only has to be the depth of your bit.
Zero Tolerance with a Shop-Made Guide Fence
Once your runout is under control, ensure your cuts stay perfect by controlling how the wood enters the bit. A simple, shop-made fence can stop the wood from twisting. Cut a piece of straight hardwood, like maple or poplar, to the width of your base table. Then clamp it with a spring clamp or quick clamp. You can also use a guide with a hardened steel bushing to keep things in a straight line. Bushing guides fit into the hole and a drill bit slides through the bushing. That way, the bit never touches the top of the wood until it is exactly where you want it.
You want the work held firmly in place, and the bit to be the only moving thing. You can use laminate flooring as the fence because the surface is slick. This ensures the wood slides easily but sits tight in place. This is not a solution for runout, but rather a method to ensure that the cut stays even and the edges stay clean.
So consider this your next workshop experiment. Test your drill press, check the chuck, and clean the machine before you blame the wood or your skills. A tiny 20-dollar tool and 30 minutes of your time can save a lot of waste. If you decide to upgrade a part, spend the money on the chuck. You’ll need to spend a little time learning about the type of chuck, but you only need to do it once. I will say, do not try to remove a stuck chuck with just a lever unless you want to risk bending the spindle. Use a proper wedge or chuck removal tool.
Drilling clean holes is about the entire system, not just how hard you push the handle. When the drill press spins true and the table is solid, the holes come out even, the bits stay sharp longer, and you can finally trust the machine to do its job without babysitting it. Go tighten the chuck and measure it, let me know what numbers you see, that extra thousandth of an inch could be the whole story.
Leave a Comment